Table of Contents
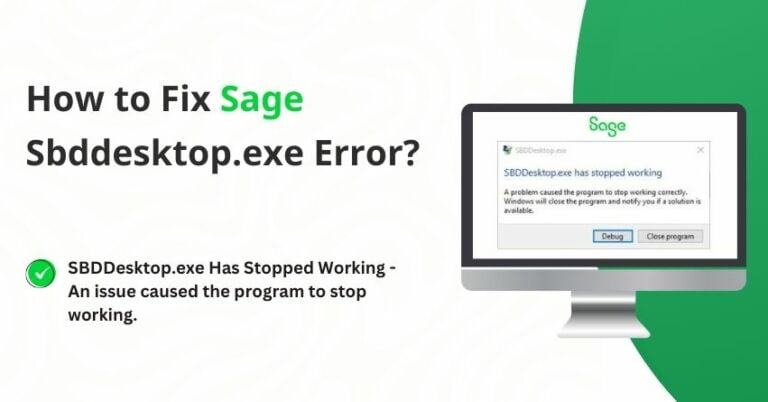
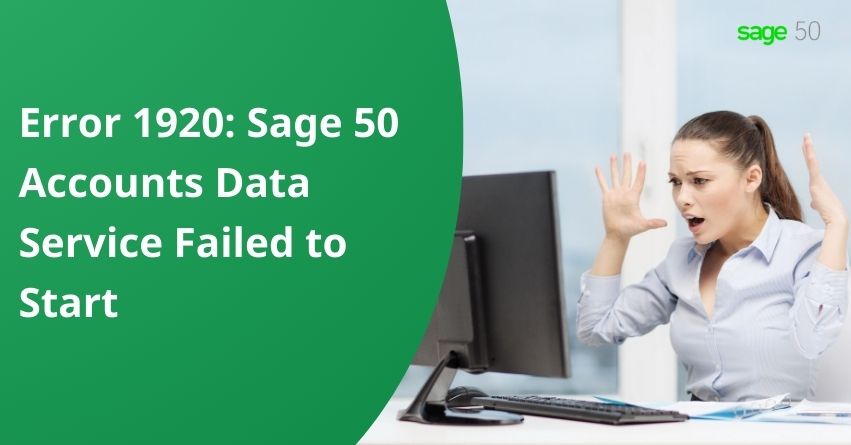
ToggleError 1920: “Service Sage 50 Accounts Data Service failed to start” occurs during the installation or operation of Sage 50 accounting software. There are various reasons behind this issue, which often disrupts the installation process and hinder the proper functioning of Sage 50. It often prompts users to verify system service privileges and take necessary steps to resolve it. Renaming certain files, clearing the temporary folder, logging in as an administrator, and temporarily turning off antivirus software can help resolve this error.
In this article, we explore a systematic approach to overcoming this error and restoring the functionality of Sage 50 Accounts Data Service.
When faced with Sage error 1920, you will come across the following error message on your system:
| Service Sage 50 accounts error 1920, the data service was unable to start. |
| Error 1920 The Sage AutoUpdate service manager was unable to start. |
| Error 1920 Sage 50 service, the control service was unable to start |
Also Read:- How to Fix Sage 50 There is an Error Connecting to a Database?
What Leads to the Sage Error 1920 Service Failed to Start?
- Corruption in the operating system.
- Concurrent use of multiple Sage applications on the same system.
- Malware or virus attacks.
Also Read:- Sage 50 Error 1935: Resolving Installation Issues with Easy Solutions
Methods for Resolving Sage 50 Error 1920
1. Delete Control Service Folders
For versions before v27.1, navigate to C:\Windows\Temp.Net and remove any folders related to the Sage Control Service, such as Sage.UK.Accounts50.Data.Service.Control_v27. If the issue persists, proceed to the next troubleshooting step.
In v27.2 and later versions, there is no need to delete these folders.
2. Rename the SQLite Files
- Press the Windows Key + E and go to:
- 32-bit operating system: C:\Program Files\Sage\AccountsServiceVXX
- 64 bit operating system: C:\Program Files (x86)\Sage\AccountsServiceVXX
VXX denotes the version number.
- Rename each of the following files by right-clicking on them and adding “old” to the filename, for example.
- Sg50Svc_vXX.sqlite3
- Sg50Svc_vXX.sqlite3-Shm
- Sg50Svc_vXX.sqlite3-wal
vXX denotes the version number.
| NOTE: If you can’t find these files, contact our experts for immediate assistance. |
3. Restart the software installation after closing the browser window.
3. Clear the Temporary Folder
- Press the Windows key and R.
- Type %temp%, then select OK.
- Press Ctrl + A then click on Delete.
- Choose Yes.
| Note: Clearing the temporary folder will remove all files stored within it. This action could impact other software on your system. If you are still confused, please consult with a professional. |
4. Restart your Computer
- Restart your system.
- Log on to the system as an administrator.
5. Disable your Antivirus Software
Turn off your antivirus software for a while.
6. Terminate any Active Sage Processes
- Hit the Ctrl + Alt + Delete keys.
- To access the Processes tab, select Task Manager.
- Track down and select Sage.Central.UpdateManager.Service.exe AutoUpdate.
- Select “End Task” or “End Process.”
- Terminate any additional processes that start with SG or Sage.
- Reinstall the program.
7. Adjust Permissions
- Hold down the Windows key and press R
- Type explorer, and click on OK.
- Browse to C:\Program Files (x86)
If your computer is 32-bit browse to C:\Program Files.
- To access the Properties, right-click on Common Files.
- Select the Security tab and then press the Advanced button.
- Select the Owner tab and then press Edit.
Windows 8 and 10: – Right-click Common Files > Properties > Security > Advanced > Change
- Choose Administrators under the Change Owner section.
- Select Apply after selecting OK.
Windows 8 and 10 – under Enter the object name to select, enter Administrator > Check Names > OK.
Click OK if a notification suggesting that you close the Permissions window appears.
- Right-click on “Common Files” and select Properties.
- Select the Security tab and then press the Edit button.
- Allocate complete access to all parties, excluding the creator owner.
- Click OK, then choose Apply.
- For the Sage folder, follow steps 4 to 8.
Press and hold the Sage folder twice.
- Follow steps 4 to 8 for the AccountsServicevXX.
- Browse to C:\Program Files (x86)
If your computer is 32-bit browse to C:\Program Files.
- Double-click on “Common Files” and then double-click on “Sage“.
- Double-click on “Central” and then double-click on “AutoUpdateClient”.
- Right-click on each file within the AutoUpdateClient folder.
- Select “Properties” and then go to the “Security” tab.
- Click on “Advanced” and then navigate to the “Owner” tab.
- Ensure that the owner is set to “Administrators“.
- Ensure that the permissions and folder owner applied to “Common Files” are also applied to:
- Sage
- Central
- AutoupdateClient
- Reinstall the software.
to resolve your query in no-time.
Conclusion
In conclusion, addressing the Sage Error 1920, where the “Service Sage 50 Accounts Data Service failed to start,” is crucial for maintaining the optimal performance of Sage 50 accounting software. We trust that the troubleshooting steps outlined above will assist you in resolving the Sage Error 1920 Service Failed to Start issue on your system. If you continue to encounter difficulties we encourage you to reach out to Sage Assistance via our toll-free number: +1-855-875-1223.
Frequently Asked Questions
Your Windows user’s access level may be the only problem. Try logging in as an administrator and opening Sage 50 Accounts to test this. If logging in as an administrator isn’t working for you, try running Sage 50 Accounts as an administrator: To access the Properties, simply right-click on the Sage 50 Accounts shortcut.
This error means the Windows Installer can’t start a service during installation. You can get Error 1920 for the following reasons: Not having admin rights. Clashes with other services.
Yes, Error 1920 in Sage 50 can stem from potential conflicts with third-party software applications or services. To mitigate this issue, it is suggested to address and resolve these conflicts by seeking guidance from a Sage professional.
Sage Error 1920 may occur as a result of malware or virus attacks corrupting system files. It’s advised to do routine antivirus scanning.
1. Click File, then click Restore then click Next.
2. Select which files you want to restore then click Next.
3. Click Browse then locate and double-click the backup that you want to restore.
4. Click Next then click Finish.
5. Enter your User Name, Password, and Processing date then click OK.