Updated
14 min read



Managing employee payroll with precision is vital for every business, and it starts with setting up the right pay types. Employees may be compensated in various forms, including hourly wages, fixed salaries, overtime pay, commissions, and bonuses. If these pay types are not configured correctly in your payroll system, it can lead to paycheck discrepancies, compliance challenges, and inaccurate financial records. To help businesses avoid these issues, QuickBooks Online Payroll and QuickBooks Desktop Payroll provide flexible options to add or edit pay types according to employee requirements.
As your business grows, you may need to introduce new bonus structures, adjust commission payments, or modify overtime rules. However, the process for making these changes differs based on whether you’re using the Online or Desktop version of QuickBooks. In this blog, we’ll show you everything you need to know about adding and editing pay types in QuickBooks Payroll, covering both online and desktop versions. So, let’s begin with it.
Adding and editing pay types in QuickBooks Online and Desktop Payroll is essential for managing accurate and flexible payroll. Here’s why it is important:
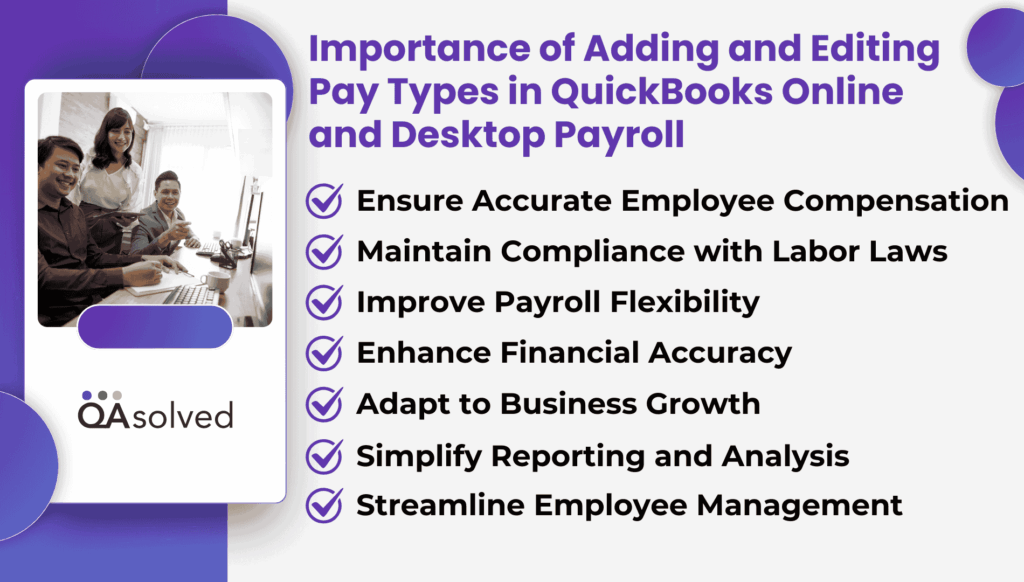
Adding and updating pay types helps guarantee that employees are paid correctly, whether it’s for salaries, hourly wages, commissions, or bonuses. This reduces the risk of paycheck errors that may affect employee trust and satisfaction.
Different pay types often relate to legal requirements, such as overtime rules or state-specific wage laws. Keeping pay types updated in QuickBooks ensures your payroll stays compliant with labor regulations.
Every business has unique pay structures. By adding or editing pay types, you can customize QuickBooks Payroll to fit your organization’s compensation policies, bonus schemes, and commission structures.
Accurate pay type configuration directly impacts financial records and reports. This helps avoid miscalculations in payroll expenses, tax filings, and financial statements.
As businesses expand, new roles and compensation models may be introduced. Editing or adding pay types in QuickBooks makes it easier to align payroll with evolving business needs.
Well-structured pay types allow for more detailed payroll and expense reporting. Employers can analyze labor costs, track overtime trends, and review bonus or commission payouts more effectively.
Properly configured pay types reduce confusion during payroll runs and simplify HR processes. Employees can clearly see how their pay is calculated, which fosters transparency and minimizes disputes.
Now, let’s highlight the steps to easily add and edit pay types in QBO and QBD Payroll.
Whether you’re adjusting existing pay categories or introducing new ones, QuickBooks provides an easy process. Below, we’ve outlined the step-by-step instructions for both Online Payroll and Desktop Payroll versions so you can easily add or edit pay types in QuickBooks or make necessary edits to ensure payroll runs smoothly.
Now, you need to Add Additional Pay Types. You can add different types of compensation for your employees, such as an additional pay rate, reimbursement, overtime pay, or tips.
So, these are the steps to add or edit pay types in QuickBooks Online Payroll. If you can’t find an existing pay type, then you need to check if your pay type is active or not.
Note: You can now add an Hourly pay type to a salaried employee. If the employee’s base pay is set to Salary, simply add the Hourly pay type under the Additional Pay Types section.
Follow the instructions below to add and edit pay types in QuickBooks Desktop Payroll with ease. Here are the steps:
Note: If you use Workers’ Compensation and want to exclude bonuses from its calculation, set up the bonus as an Addition with a tax tracking type of Compensation.
Need to Add or Edit Pay Types in QuickBooks?
Simplify your payroll process by updating your pay types in QuickBooks Online or Desktop. Whether you're setting up new pay categories or adjusting existing ones, we can guide you every step of the way! Contact us today for expert support!
At times, businesses may need to hide or remove certain pay types or items from employee paychecks to keep payroll records accurate and relevant. QuickBooks allows employers to manage these settings easily, ensuring that only the applicable compensation details appear on each paycheck. Here’s how you can hide or remove pay items from your employees’ paychecks in QuickBooks Online Payroll and QuickBooks Desktop Payroll:
Being a user, you should be aware of the fact it is not possible to delete those pay types that you’ve used previously. However, you can surely hide or remove them when they don’t need to be accessed or used. There are two ways to hide unused pay types. Here’s how you can hide them.
Just like QuickBooks Online Payroll, it is easy for a user to either hide or remove the pay types in QB Desktop Payroll. Here are the steps for the same.
So, these are the steps to successfully hide or remove pay items and types in QuickBooks Online Payroll and QuickBooks Desktop Payroll.
There may be times when you need to activate or deactivate a pay item based on changes in employee compensation or business requirements. QuickBooks makes it easy to manage these settings, allowing you to keep payroll records accurate while ensuring that only relevant pay items are applied during payroll runs.
Here are the steps to activate or deactivate a pay item in QBO Payroll and QBD Payroll.
Before deactivating or activating a pay item, it is important to understand that You can’t deactivate standard pay types such as salary, hourly, or commission. However, you can make any additional hourly or commission pay type inactive, as long as it isn’t assigned to any employees.
To ensure customer security, have them sign in through the provided link. If they cannot access their Intuit account, help them recover it. You can also copy and share the direct sign-in link with your customer if needed.
Follow these steps to use an inactive pay type again:
These are the steps to inactivate and reactivate a pay item in QuickBooks Online. Now, let’s take a look at the process of QBD Payroll.
Sometimes, businesses need to update or schedule a new base pay for their employees to reflect changes in salary, hourly rates, or compensation structures. QuickBooks provides simple options to manage these updates, ensuring payroll runs smoothly and employee pay remains accurate. Here are the steps to schedule a fresh base pay for your workforce in QuickBooks Online Payroll
If you want to update an employee’s base pay for a future date, you can schedule it in advance by adding an effective date for the pay period. Ensure that the employee’s pay schedule is already set up before making this change.
If you want to cancel or undo the change, go back to the Edit pay type screen and click on Cancel Scheduled Change.
Important: Once the new base pay becomes effective, all future paychecks will be calculated using the updated amount. If you need to generate a paycheck for a past period with the previous base pay or a different amount, be sure to update the base pay accordingly before creating it.
Also Read: How to Troubleshoot Paychecks Calculating Incorrectly in QuickBooks?
In multiple cases, you may require setting up an effective date for additional pay types, such as bonuses, overtime rates, or other special compensations. QBO Payroll allows you to set these changes in advance, ensuring employees receive the correct pay at the right time without manual adjustments. Here are the steps to set up an effective date for additional pay types in QuickBooks Online Payroll.
To cancel the update, return to the Edit pay type screen and select Cancel scheduled change.
In a nutshell, managing employee payroll effectively goes beyond simply issuing paychecks. It requires careful setup and ongoing adjustments of pay types to ensure accuracy, compliance, and transparency. With QuickBooks Online Payroll and QuickBooks Desktop Payroll, businesses have the flexibility to add, edit, hide, or schedule pay types based on evolving needs. Whether it’s updating base pay, assigning bonuses, or deactivating unused items, following the right steps helps maintain smooth payroll operations and accurate financial records.
By keeping your payroll system up to date, you not only prevent costly errors but also build trust with your employees through clear and accurate compensation. As your business continues to grow, regularly reviewing and updating pay types in QuickBooks will ensure your payroll remains efficient, compliant, and aligned with your organization’s needs.
1. Select Employees from Payroll.
2. Click on the employee whose pay method you want to change.
3. Select Edit next to How much do you pay [Employee Name]? or the Pay Method section.
4. Choose the new pay method:
– Direct deposit
– Paper check
– Other available methods
5. Review the employee’s bank or payment details if applicable.
6. Enter Save to apply the changes.
Note: Changes will apply to future paychecks; existing paychecks are not affected.
1. Select Payroll Item List from the Lists menu.
2. Locate the payroll item (payment type) you want to edit.
3. Select the item and click Edit Payroll Item.
4. Update the necessary details such as:
– Name of the pay type
– Rate or amount
– Tax tracking type (if applicable)
5. Follow the on-screen prompts and click Finish to save your changes.
Note: If the pay type is already assigned to employees, changes will affect future paychecks for those employees.
1. Click Reports and select Reclassify Transactions (or use the Accountant Toolbox if available).
2. Launch the tool for reclassifying transactions.
3. Locate the transactions you want to reclassify by filtering by Date, Employee, or Payroll Category.
4. Select the payroll transactions you want to update.
5. Choose the new Account, Class, or Location for these transactions.
6. Click Apply to save the changes.
Note: Only payroll administrators or users with the necessary permissions can reclassify payroll transactions.
1. Select Chart of Accounts (if applicable) or Transactions from the Accounting menu.
2. Locate the transaction you want to edit. You can use the search or filters to find it quickly.
3. Select the transaction and click Edit.
4. Update the Transaction Type field (for example, changing a Check to an Expense or an Invoice to a Sales Receipt, if allowed).
5. Make any additional necessary adjustments, such as account, date, or amounts.
6. Click Save and Close or Save and New to apply the changes.
Note: Not all transaction types can be changed directly. There may be times when you need to delete the original transaction and recreate it with the correct type. Ensure that your reports and balances remain accurate by double-checking your changes.
About the author
Have a QuickBooks® question? Our ProAdvisors can help. QAsolved is not affiliated with Intuit.