

Imagine not having to manually enter payroll information into QuickBooks. That sounds great, doesn’t it? Managing payroll is one of the most crucial, and often complex, responsibilities for any business. From tracking employee hours and calculating wages to handling taxes and deductions, the payroll process demands accuracy, efficiency, and compliance. While many businesses rely on third-party payroll providers or software to streamline these tasks, keeping financial records in sync with accounting tools like QuickBooks is equally important. That’s why learning how to export payroll data into QuickBooks can make a big difference in ensuring accuracy and saving time.
Exporting payroll data into QuickBooks lets you do just that. No matter how you manage payroll, this step keeps your books clean, organized, and accurate-without the risk of errors due to copy-pasting. Syncing payroll with QuickBooks automatically transfers wage expenses, tax withholdings, and benefits to the correct place. In addition to saving time, you can have that much needed peace of mind knowing your numbers add up and your records are audit-ready.
In this blog, we will guide you through the steps involved in exporting payroll data into QuickBooks and explain why it’s a smart move for accurate bookkeeping and better decision-making. So, let’s get started.
Why Exporting Payroll Data to QuickBooks Is a Smart Move?
Exporting your payroll data into QuickBooks isn’t just about convenience, it’s a strategic decision that helps align your payroll processes with your overall financial management. By automating this data transfer, businesses can improve accuracy, enhance reporting, and ensure smoother operations across accounting and HR departments. Below are the key reasons why this integration is beneficial:
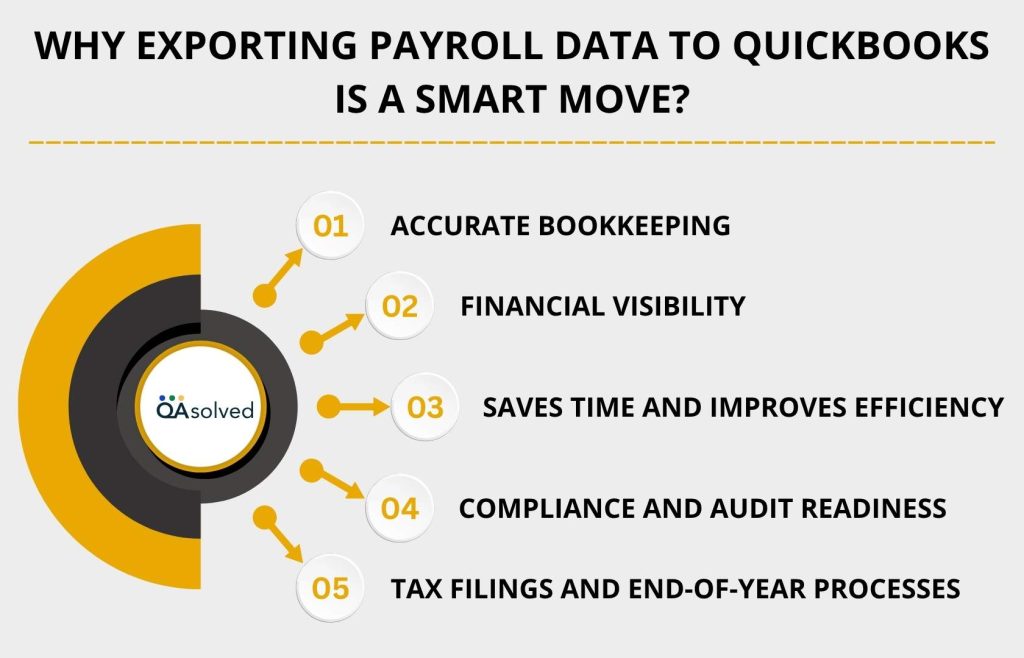
1. Accurate Bookkeeping
Exporting payroll data directly into QuickBooks minimizes manual entry, which reduces the risk of human errors. This ensures that wage expenses, tax liabilities, and deductions are recorded accurately in your accounting system, leading to cleaner financial statements.
2. Saves Time and Improves Efficiency
Manually entering payroll details into QuickBooks can be time-consuming. Automated exports allow you to instantly sync data, freeing up time that can be spent on more strategic tasks like budgeting or HR planning.
3. Financial Visibility
With payroll data integrated into your accounting software, you gain a complete picture of your business’s financial health. It becomes easier to analyze labor costs, forecast expenses, and generate up-to-date reports for smarter financial planning.
4. Compliance and Audit Readiness
QuickBooks makes it easy to store and retrieve detailed payroll records. This not only helps during tax season but also ensures you’re audit-ready with well-organized and compliant documentation.
5. Tax Filings and End-of-Year Processes
With accurate payroll data in place, generating tax forms like W-2s and 1099s becomes seamless. You’ll also be better equipped to handle payroll tax filings without delays or discrepancies.
Now that you understand the advantages, the next step is learning how to export payroll data from QuickBooks Online efficiently. With the right guidance and tools, syncing your payroll and financial records can become a seamless part of your routine.
3 Steps to Export Data Into QuickBooks Online and Desktop
Exporting your payroll data into QuickBooks helps bridge the gap between payroll processing and financial reporting. It ensures that your expenses, liabilities, and tax records are automatically updated, reducing manual entry errors and saving time. Whether you’re using a standalone payroll solution or a cloud-based provider, most modern platforms allow seamless payroll data export into QuickBooks.
Before You Begin:
- This is for customers using Standalone Payroll (not linked to QuickBooks Online Payroll).
- Your export connection will expire if you later activate payroll within QuickBooks Online.
- Only the Primary Admin can complete the export setup.
- If the Primary Admin is a Firm user (like a ProAdvisor or accountant), they must transfer the role to a non-Firm user before setting up the export.
- Standalone Payroll cannot export data to QuickBooks Online accounts with payroll enabled.
Tip: Before starting the export setup, double-check that your QuickBooks Online account is compatible and that the right user has admin access.
Now, let’s take a look at the steps to export your payroll data into QuickBooks.
If you use QuickBooks Online Payroll Core, Premium, or Elite separately from accounting, you may also have a separate QuickBooks company file for your bookkeeping. While payroll features are turned off in this company file, it’s still crucial to align your financial records. In order to maintain accurate and up-to-date payroll records, Standalone Payroll can export payroll transactions directly to:
- QuickBooks Online (if payroll is not activated there), or
- QuickBooks Desktop, using an Intuit Interchange Format (IIF) file.
It allows your accounting system to automatically reflect payroll activity, such as wages, taxes, and deductions.
Step 1: Setup Your Preferences in Your Payroll Account
Follow the steps given below to set up your preferences in your payroll account:
- Log in to your Core, Premium, or Elite payroll account.
- Go to Settings, then Payroll settings.
- Select Edit in Export.
- Pick accounting software:
- QuickBooks Desktop for Windows
- QuickBooks Desktop for Mac
- QuickBooks Online – You’ll be prompted to sign in to your QuickBooks Online account to begin the sync. Select the company file where you wish to export your payroll transactions once you have logged in.
- Hit Continue.
- QuickBooks will create default accounts for your wages, expenses, and liabilities. Select Edit to modify these accounts as it appears on your QuickBooks chart of accounts.
- Upon completion, select Done twice.
At any time, you can change your preferences.
Step 2: Export Your Payroll Transactions
Upon running payroll, you’ll be instructed to export transactions from the most recent payroll. There are several methods available if you need to export at a different time. Choose the option that best suits your needs.
A. All Payroll Transactions
Export all transactions related to payroll, including taxes and contractor payments.
- Click on Payroll, then Overview.
- Select Export from Shortcuts.
- Choose the transactions you want to export. Use Filters to find the transactions you need to export.
- Choose Export.
- Continue to Step 3 if you selected QuickBooks Desktop for Windows or Mac.
B. Individual Paychecks
If paychecks or other transactions are missing, follow these steps to manually export them.
- Select Employees from Payroll.
- Choose Paycheck from the list.
- Choose the transactions you want to export. You can use Filters to find the paychecks you need to export.
- Then click Export selected paychecks.
- If you choose QuickBooks Desktop for Windows or Mac, go to Step 3.
C. Accountant’s Clients
Export payroll transactions for your client
- Access your client’s account.
- Go to Settings > Payroll settings.
- Select Export transactions under Export.
- Choose the transactions you wish to export.
- Use the Filters to narrow down your search.
- You can select up to 20 transactions per category at a time.
- Hit Export.
- Continue to Step 3 if QuickBooks Desktop (Windows or Mac) was selected for the accounting software.
Step 3: QuickBooks Desktop only: Import .IIF into QuickBooks Desktop
When you click Export or Export selected paychecks, an .IIF file will be downloaded to your Downloads folder. Do not open the file. Here are the steps to import .IIF into QuickBooks Desktop:
- Log in to QuickBooks Desktop.
- Select File, then Utilities.
- Choose Import, then Import IIF.
- Choose the IIF file you wish to import and click Open. Locate the .IIF file in your downloads folder.
- Enter OK.
There you have it! Having successfully exported and imported your payroll transactions, your accounting records will reflect your payroll activity accurately and automatically. As a result, your books will remain organized, your financial reports will be complete, and you’ll be ready for tax time with a minimum amount of manual labor.
In case you’re having any trouble executing these steps properly, then it would be ideal to contact our QuickBooks Payroll Experts at +1-888-245-6075.
Conclusion
Payroll data exporting into QuickBooks is more than just a routine task, it’s a vital component of maintaining accurate, compliant, and audit-ready financial records. The seamless syncing of payroll transactions ensures that wages, tax deductions, benefits, and contractor payments are properly reflected in your accounting system, whether you’re using Standalone Payroll software or partnering with a third-party payroll provider. When you export your payroll data into QuickBooks, you eliminate the need for time-consuming manual data entry and significantly reduce the risk of errors that can impact your financial reporting.
This not only enhances efficiency but also allows your accounting team to focus on higher-value tasks such as strategic budgeting, account reconciliation, and long-term financial planning. By following the steps outlined above, your business will be better equipped to manage payroll-related expenses, generate accurate reports, and prepare for tax season with confidence.
Ultimately, integrating payroll with QuickBooks empowers your organization to maintain cleaner books, stay compliant, and make informed financial decisions throughout the year.
Frequently Asked Questions
1. Access Payroll > Employees.
2. Get started with the payroll setup.
3. Select “Yes, I have paid employees this year.”
4. Enter your prior payroll data, including:
– Year-to-date totals (gross pay, taxes, deductions)
– Pay history per employee
5. Make sure you follow the steps to complete the setup and save your entries.
1. Access Settings > Payroll Settings > Export.
2. Next, choose transactions and click Export to download the .IIF file.
3. Select File > Backup Company > Create Local Backup.
4. Navigate to File > Utilities > Import > IIF Files.
5. Select the file and click Open.
6. To confirm import, go to Reports > Payroll Summary.
1. Make an Excel file with columns such as:
– Item Name, Type, Description, Price, Cost, Accounts
2. Create a .CSV or .XLS file and save it.
3. Access File > Utilities > Import > Excel Files.
4. Select Advanced Import, upload your file, and map the fields.
5. Hit Import.
You may not be able to upload your CSV file to QuickBooks if it is incorrectly formatted, missing required headers, contains special characters, or exceeds the file size limit. In addition, QuickBooks does not support CSV for all types of data (such as transactions). Use the correct import method (Advanced Import) and make sure your file matches QuickBooks’ field requirements. Make sure there are no hidden spaces or formatting errors.
There are four types of lists that can be directly imported into QuickBooks Desktop:
– Customers
– Vendors
– Items (Products and Services)
– Accounts (Chart of Accounts)
The Advanced Import feature allows you to import these using Excel or CSV files.
