

If you’ve been navigating the world of accounting, you’ve probably come across the term trial balance. For many business owners and accounting professionals, it sounds like one of those technical things that only auditors or CPAs should care about. But here’s the truth: a trial balance is the backbone of your financial accuracy. It’s the checkpoint that ensures all your debits and credits match up, giving you confidence that your books are in good shape. Think of it as the bridge between your daily transactions and the big picture financial statements. Without it, even small mistakes can snowball into bigger reporting issues.
Now, here’s where it gets interesting. If you’re using QuickBooks, whether the Online or Desktop version, you don’t have to build a trial balance manually. QuickBooks makes the process faster, easier, and far less intimidating. With just a few clicks, you can generate a Trial Balance in QuickBooks Online or Desktop that gives you a clear snapshot of your accounts at any given point. And the best part? It’s not just a tool for accountants; even small business owners can benefit from it.
In this blog, we’ll break it all down for you. We’ll walk you through the step-by-step process of running one in both QuickBooks Online and QuickBooks Desktop. Whether you’re managing your books solo or working with an accounting team, this blog will give you the clarity you need to keep your finances balanced; literally. So, let’s get started.
What is a Trial Balance in QuickBooks Online and Desktop
A trial balance in QBO and Desktop is a key accounting report that lists all your ledger accounts along with their debit and credit balances. It helps ensure that your books are accurate and that total debits equal total credits, maintaining the integrity of your financial data. By running a trial balance, you can quickly identify discrepancies, posting errors, or missing transactions before preparing final statements.
In both QuickBooks Online and Desktop, this report offers a clear snapshot of your business’s financial position, helping accountants and business owners make informed decisions with confidence and maintain accurate financial records. Let’s take a deeper look at the basics of a trial balance to help you create accurate financial reports in QuickBooks Online and QuickBooks Desktop
The Three Golden Rules of Trial Balance
A trial balance report is built on three fundamental accounting principles that ensure your books stay accurate and balanced:

1. Debits Must Always Equal Credits
Every transaction affects at least two accounts, one debit and one credit. To maintain an accurate trial balance in QuickBooks, the total debits must equal the total credits. Any mismatch indicates an error that needs to be investigated and corrected.
2. Assets and Expenses are Recorded as Debits
When your business acquires something of value, like equipment, pays rent, or covers utility expenses, a debit entry is recorded. In QuickBooks, these debits appear on the left side of the trial balance, increasing your asset and expense accounts.
3. Liabilities, Equity, and Income are Recorded as Credits
Credits represent what your business owes or earns, including revenue, loans, and owner’s equity. In a QuickBooks trial balance, these accounts are listed on the right side, reflecting the growth in liabilities, equity, and income.
In QuickBooks, each account with a balance, such as cash, accounts receivable, or accounts payable, is displayed with its corresponding value: debits on the left and credits on the right. By adhering to these three golden rules, you can confidently run and review a trial balance in QuickBooks Desktop and QuickBooks Online.
Different Types of Trial Balance Reports
There are three main types of trial balances, and each one plays an important role in maintaining accurate financial records. While the unadjusted trial balance highlights initial discrepancies, the other two versions help refine and validate the final financial data used for reporting purposes.
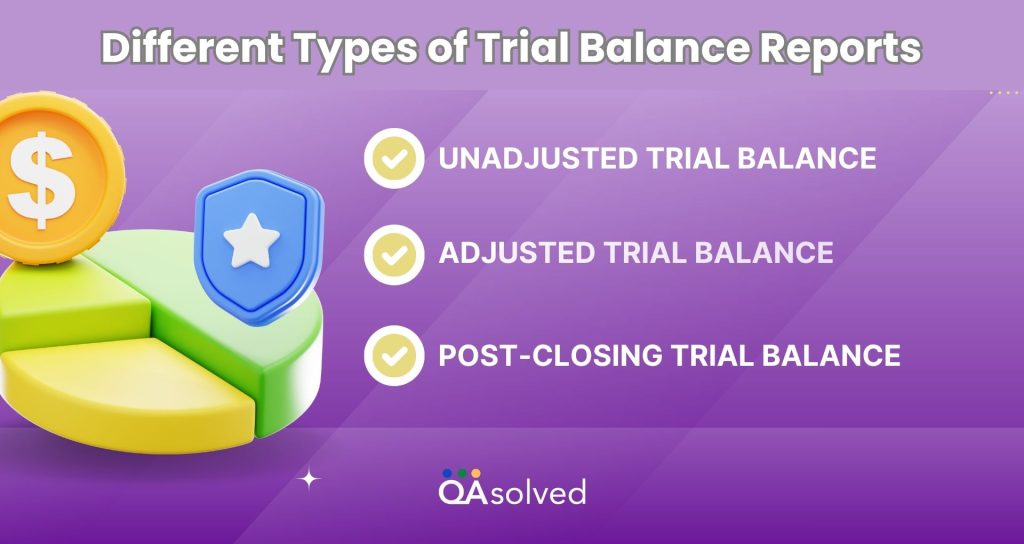
1. Unadjusted Trial Balance
This is the initial version created directly from the ledger accounts. It serves as a checkpoint to identify mathematical errors, missing entries, or posting mistakes before any adjustments are made.
2. Adjusted Trial Balance
Prepared after recording necessary adjusting entries, this version ensures that all accrued and deferred items are accurately captured, helping present a true and fair view of your accounts.
3. Post-Closing Trial Balance
Generated once closing entries are completed, this trial balance confirms that all temporary accounts such as revenues, expenses, and drawings are properly closed and reset to zero for the new accounting period.
So, these are the three golden rules and types that can help you prepare trial balance reports in QuickBooks effortlessly. Now that you’re equipped with basic yet crucial aspects, let’s jump to the steps that can help you create trial balance reports in QB Online and Desktop.
Steps to Run a Trial Balance Report in QuickBooks Online and Desktop
Creating a trial balance in QuickBooks doesn’t have to be complicated. Whether you’re using the Online or Desktop version, the process is designed to be quick and user-friendly. By following a few simple steps, you can run a trial balance in QuickBooks and review all your account balances in one place. This helps you confirm that every debit matches its corresponding credit, ensuring your books are balanced before generating financial statements.
So, let’s take a look and understand the steps to create and run a trial balance report in QuickBooks Online and Desktop.
6 Steps to Run a Trial Balance in QuickBooks Online
Generating a trial balance in QuickBooks Online is a simple process that helps you verify the accuracy of your financial data. With just a few clicks, you can review all your accounts in one place and ensure that your books are balanced. Here’s how to do it:
- Open QuickBooks and go to the Reports option available in the left-hand menu.
- Navigate to the Accountant & Taxes section.
- From the list of available reports, select Trial Balance.
- Choose the specific date or time period for which you want to view the report.
- If you wish to make changes or filter the data, click on Customize Report to adjust it as needed.
- Once everything is set, select Run Report to generate your Trial Balance.
8 Steps to Run a Trial Balance in QuickBooks Desktop
Running a trial balance report in QuickBooks Desktop is easier than it sounds. This report gives you a complete snapshot of all your account balances, helping you spot any discrepancies before preparing financial statements. Follow the steps as given below:
- Open QuickBooks Desktop and navigate to Reports.
- Navigate to the Accountant & Taxes section.
- Click on Trial Balance to start creating your report.
- Select Customize Report to adjust the settings.
- Go to the Filters tab and find the Accounts option.
- From the Account dropdown menu, choose Multiple Accounts.
- Pick the specific accounts you want to include in your trial balance report.
- Finally, click OK to generate the report with your selected accounts.
So, these are the steps to successfully create and run a trial balance report in QuickBooks Online and Desktop. Now, let’s take a look at the steps that can help you import trial balance in QuickBooks.
How to Import Trial Balance in QuickBooks?
Importing a trial balance in QuickBooks is a convenient way to ensure your financial data is accurate and up to date without manually entering each transaction. Whether you are using QuickBooks Online or Desktop, the import feature allows you to upload your trial balance from a spreadsheet or CSV file. Follow the steps carefully:
- Prepare your trial balance file in a supported format, such as Excel or CSV.
- Open QuickBooks and go to the File menu.
- Select Utilities and then click on Import.
- Choose the option that corresponds to your trial balance file type.
- Map the columns in your file to the correct accounts in QuickBooks.
- Review the mapped data carefully to ensure accuracy.
- Click Import to upload the trial balance into QuickBooks.
- Verify the imported data by checking your accounts and ensuring balances match.
Now that’s how you can easily import a trial balance report in QuickBooks. But what if your trial balance doesn’t balance? How do you resolve it? Don’t worry, it’s not as complicated as it sounds. So, let’s explore the steps that can help you fix a QuickBooks trial balance that is out of balance.
What to Do When Your QuickBooks Trial Balance Is Out of Balance?
Sometimes, even in well-maintained books, a QuickBooks trial balance may not balance. When this happens, it’s important to investigate and correct the discrepancies to ensure your financial reports are accurate. Fortunately, the process is straightforward if you approach it methodically. Here are the steps to follow when your QuickBooks trial balance is out of balance.
- Open the Reports menu and run your Balance Sheet using the Accrual Basis method.
- Ensure that you select all dates under the Display option to capture every transaction.
- Identify the date when your trial balance first went out of balance.
- Review all transactions recorded on that date. Verify that each entry is correct, and make corrections as needed.
- Run your trial balance report again. If it’s still out of balance, repeat the process for each date where discrepancies appear, carefully checking and correcting transactions until the trial balance aligns.
In some cases, a single transaction might be causing the imbalance, making it easy to resolve. Other times, there may be multiple issues to address, so patience and a systematic approach are essential to restoring accuracy to your accounts.
Next, we’ll walk you through how to enter an opening trial balance in QuickBooks, make necessary adjustments, and easily print a working trial balance. So, let’s dive in and take it step by step.
Also Read: How to Fix QuickBooks Balance Sheet Out Of Balance Issue in Accrual Basis?
How to Enter Opening Trial Balance in QuickBooks?
For most businesses, your QuickBooks trial balance will include an opening balance unless you’re starting from scratch. If your bank accounts and credit cards are connected to QuickBooks, these balances are automatically updated in your trial balance. However, some amounts may need to be entered manually. Here’s how you can do it:
- First, ensure you have the correct opening balance amount.
- Open QuickBooks and navigate to Settings, then click on Chart of Accounts.
- Click New to create a new account.
- Provide a name for the account, choose the account type, and assign the appropriate tax code.
- Enter the opening balance and specify the “as of” date.
- Click Save and Close to finalize the entry.
Once the opening balance is entered, every transaction recorded in that account will automatically be debited or credited against the balance, keeping your trial balance accurate and up-to-date.
Also Read: How to Manage Opening Balance in QuickBooks?
How to Make Necessary Adjustments to Trial Balance in QuickBooks?
Adjustments to a trial balance in QuickBooks are typically made by accountants or bookkeepers to correct small errors or to record transactions that were previously uncategorized. If your trial balance is out of balance and the cause is unclear, it’s always best to follow the steps outlined earlier to identify and resolve the issue first.
If you do need to make an adjustment in QuickBooks, here’s how to do it:
- Choose the company for which you want to make the adjustment.
- Click New and select Journal Entry.
- When prompted, confirm that this is an adjusting entry by clicking Yes.
- Follow the on-screen instructions to complete the adjustment.
- Finally, click Save and Close to record the entry.
How to Print a Working Trial Balance in QuickBooks?
Printing a trial balance report in QuickBooks is useful when you need to share your financial data with others who don’t have access to QuickBooks, or for management reviews and meetings. Follow these steps to print a working trial balance:
- Open the Accounts menu and navigate to Reports.
- Select Trial Balance from the list of available reports.
- Click Customize to choose the accounts you want to include and set the desired date range.
- Save your customized report.
- Click the Print option to print your report. If this is your first time printing the report, you may need to go through the Print Setup process to configure your printer settings.
10 Advantages of Creating, Running, and Maintaining a Trial Balance in QuickBooks
Maintaining a trial balance in QuickBooks is an essential practice for any business, whether you are using the Online or Desktop version. By regularly reviewing your trial balance, you can catch discrepancies early, maintain accurate reporting, and streamline accounting processes. Whether you need to run a trial balance in QuickBooks Desktop for detailed financial analysis or generate a trial balance in QuickBooks Online for quick insights, the benefits are significant for both accountants and business owners alike.
Here are ten key benefits of maintaining a trial balance in QuickBooks:
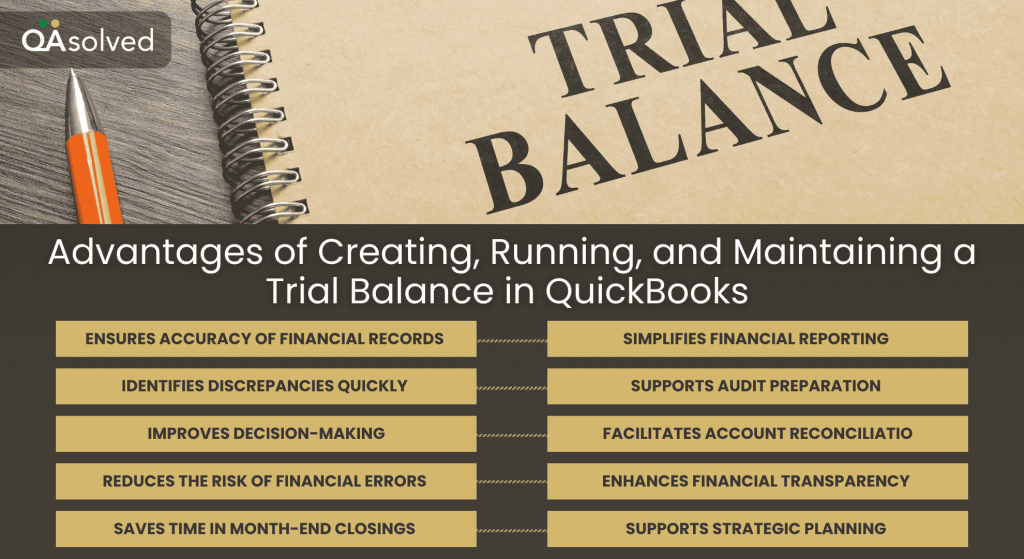
1. Ensures Accuracy of Financial Records
Maintaining a trial balance in QuickBooks Online or Desktop helps ensure that all your debit and credit entries match. This allows you to detect errors early, preventing mistakes from affecting your financial statements and providing confidence in the accuracy of your accounts.
2. Simplifies Financial Reporting
A well-maintained trial balance makes generating financial statements easier. When you run a trial balance in QuickBooks, you have all the necessary account balances summarized, which reduces the effort required to prepare profit and loss statements, balance sheets, and other reports.
3. Identifies Discrepancies Quickly
By regularly checking your trial balance in QuickBooks, you can quickly spot discrepancies or unusual entries. Early detection of errors allows for prompt corrections, ensuring that your financial records remain reliable and accurate.
4. Supports Audit Preparation
A trial balance serves as a foundation for audits. When you run a trial balance in QBO or QBD, auditors can quickly verify that all accounts are in balance, simplifying the audit process and reducing the time spent on manual reconciliations.
5. Improves Decision-Making
Having an up-to-date trial balance in QuickBooks gives business owners and managers a clear overview of their financial health. This insight enables informed decision-making regarding budgets, investments, and expense management.
6. Facilitates Account Reconciliation
A trial balance allows you to reconcile accounts efficiently. When you run a trial balance in QuickBooks, it becomes easier to cross-check individual accounts against bank statements or invoices, ensuring all transactions are correctly recorded.
7. Reduces the Risk of Financial Errors
Regularly maintaining a trial balance in QuickBooks helps minimize errors in accounting records. Catching mistakes early prevents them from cascading into larger issues, saving time and avoiding potential financial discrepancies.
8. Enhances Financial Transparency
Using a trial balance promotes transparency in financial reporting. When you run a trial balance in QuickBooks Desktop or Online, all account balances are clearly displayed, making it easier for stakeholders to understand the company’s financial position without confusion.
9. Saves Time in Month-End Closings
Maintaining a trial balance throughout the accounting period simplifies month-end closing. By having an updated trial balance in QuickBooks, accountants spend less time reconciling accounts, allowing faster preparation of monthly and quarterly financial reports.
10. Supports Strategic Planning
A trial balance provides a complete picture of your finances, helping with long-term planning. Whether you run a trial balance in QuickBooks Desktop or review a trial balance in QuickBooks Online, you gain insights that inform budgeting, forecasting, and growth strategies effectively.
In short, maintaining a trial balance in QuickBooks, whether you run a trial balance in QuickBooks Desktop or review a trial balance in QuickBooks Online, is a vital step for accurate, error-free financial management. It not only ensures the integrity of your accounts but also simplifies reporting, supports better decision-making, and keeps your business finances organized and transparent.
Wrapping Up
In short, a trial balance in QuickBooks, whether you run a trial balance in QuickBooks Desktop or check a trial balance in QBO, plays a vital role in keeping your financial records accurate and reliable. It serves as a checkpoint to ensure that total debits equal total credits, helping you catch discrepancies before they affect your financial statements. By understanding the three golden rules of trial balance, where debits equal credits, assets and expenses are recorded as debits, and liabilities, equity, and income are recorded as credits, you can keep your books organized and error-free.
Using QuickBooks to generate and manage your trial balance simplifies accounting, reduces manual errors, and saves valuable time. Regularly reviewing the trial balance allows you to reconcile accounts efficiently, spot mistakes quickly, and make well-informed financial decisions. It also provides transparency for management, stakeholders, or auditors, giving a clear picture of your company’s financial health.
Frequently Asked Questions
The general ledger in QuickBooks is the central record of all your company’s financial transactions. It tracks every debit and credit across accounts like assets, liabilities, income, and expenses.
Key Points:
1. Collects all transactions from invoices, bills, payments, and journal entries.
2. Shows running balances and account history.
3. Powers reports like the trial balance, balance sheet, and profit & loss.
4. Helps spot errors and keep books accurate.
In QuickBooks Online, you can run the General Ledger report from the Reports menu, while in QuickBooks Desktop, it’s viewed through the Chart of Accounts and account detail reports.
1. Sign in to QuickBooks Online.
2. Go to Reports on the left menu.
3. Search for General Ledger in the search bar.
4. Select the report.
5. Adjust the Report period (month, quarter, or year).
6. Customize filters like account, customer, or vendor if needed.
7. Click Run report to view.
8. (Optional) Export to Excel or PDF using the export icons.
1. Go to Settings > Reconcile or Bookkeeping > Transactions > Reconcile.
2. Choose the account you wish to reconcile.
3. Enter the ending balance and date from your bank/credit card statement.
4. Match QuickBooks transactions with your statement and check them off.
5. Make sure the difference is $0.00.
6. Fix any missing or duplicate entries if needed.
7. Select Finish now and save your reconciliation report.
If debits and credits don’t match, it could be due to missing entries, incorrect postings, unbalanced journal entries, or data errors. To fix this, review recent transactions and adjust entries, run the Audit Trail Report, and use the Rebuild Data tool if needed. If the issue persists, consult your accountant.
There are two main methods to create a trial balance:
1. Total Method: This method records the total of debit and credit columns from each ledger account. Following the double-entry bookkeeping principle, the total debits and credits should always be equal.
2. Balance Method: This method records only the final debit or credit balance of each ledger account in the trial balance, rather than the total of all transactions.
