
Staying in control of business finances is not always as simple as it sounds. You may have a steady flow of income, a clear list of expenses, and the best intentions to stick to a plan. Yet somehow, by the end of the month, the numbers do not quite match your expectations. Small, routine expenses quietly build up, and without a structured system in place, it becomes difficult to see exactly where your money is going.
This is where envelopes in QuickBooks Online can make a meaningful difference. Inspired by the traditional envelope budgeting method, this approach allows you to assign specific amounts of money to different spending categories, but in a fully digital and organized way. Instead of reacting to expenses after they occur, you set clear limits in advance and monitor your spending as it happens.
Creating and using envelopes helps you bring intention to your budgeting process. Whether you are setting aside funds for marketing, utilities, payroll, or project-based expenses, envelopes provide clarity and prevent overspending. They give your cash flow structure and make financial decision-making more confident and predictable.
In this blog, we will define QuickBooks Envelopes and explain how they function within QuickBooks Online, explore the different types of envelopes available for QuickBooks invoices, checks, and tax documents, and walk you through the step-by-step process of creating, funding, and managing envelopes effectively. So, let’s get started.
What is Meant by QuickBooks Business Envelopes?
QuickBooks Business Envelopes are professionally designed mailing envelopes that are created to work effortlessly with different products of QuickBooks. These envelopes are commonly used for sending invoices, statements, checks, tax forms, and other official business documents.
Available in multiple sizes and formats, QuickBooks Business Envelopes are designed to align perfectly with QuickBooks-printed forms, ensuring proper fit and a polished presentation. Businesses can choose between blank envelopes or opt for customized versions that feature their company logo, return address, and branding details. This adds credibility and reinforces a professional image when communicating with clients or vendors.
Moving forward, let’s discuss the different types of envelopes for QuickBooks invoices.
5 Different Types of Envelopes for QuickBooks Invoices
When it comes to mailing invoices, checks, and tax documents, choosing the right envelopes for QuickBooks invoices ensures both professionalism and security. These envelopes are available in multiple sizes and formats, helping businesses streamline mailing while maintaining a polished brand image.
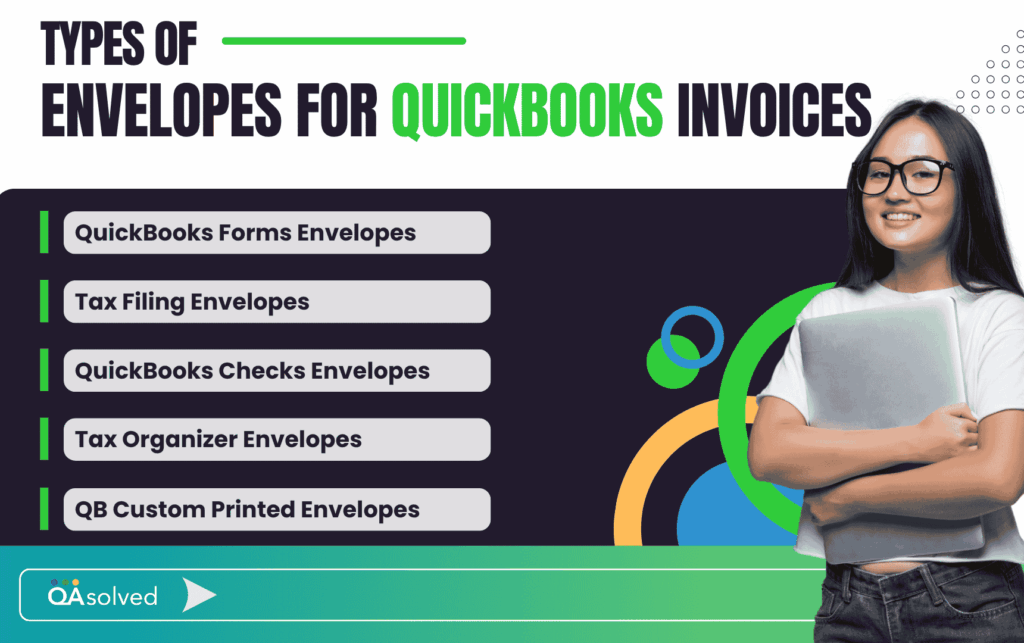
Below are the main types of QuickBooks envelopes available:
1. QuickBooks Forms Envelopes
Forms envelopes are designed to securely deliver invoices, statements, and other business documents generated in QuickBooks. They provide a clean and professional presentation while ensuring compatibility with printed forms. By using envelopes made specifically for QuickBooks products, businesses can avoid alignment issues and maintain a consistent, organized appearance in client communications.
2. Tax Filing Envelopes
Tax filing envelopes are designed to work seamlessly with slip sheets printed from your software. They help ensure tax returns are sent to the correct filing centers without the need to print and attach multiple address labels. This saves time during tax season and reduces the risk of mailing errors.
3. QuickBooks Checks Envelopes
QuickBooks check envelopes are specially crafted to fit checks and related forms printed from QuickBooks. These envelopes typically feature self-seal closures for convenience and secure mailing. Many options include address windows positioned to align correctly with printed checks and built-in security tint patterns that conceal sensitive financial information. Some designs also incorporate tamper-evident security tabs, providing an extra layer of protection and helping businesses detect any interference during transit.
4. Tax Organizer Envelopes
Tax organizer envelopes are ideal for sending client organizers and related documentation. These options are available in slip-sheet compatible or pre-printed formats, making it easier to prepare and distribute tax information efficiently while maintaining a professional look.
5. QuickBooks Custom Printed Envelopes
For businesses that want to strengthen their brand presence, custom-printed envelopes are an excellent option. These envelopes are available in different sizes and styles, allowing you to select the format that best fits your needs. You can personalize them with your company’s logo, name, and return address, reinforcing brand identity, and presenting a more professional image with every mailed document.
Learn More About: QuickBooks Business Envelopes
Choosing the right envelopes for QuickBooks invoices and other business documents not only enhances your company’s credibility but also helps protect sensitive financial information and streamline your mailing process.
How to Create and Manage Funds Using Envelopes in QuickBooks?
Running a business means planning not only for today’s expenses but also for tomorrow’s surprises. QuickBooks makes this easier with its envelope feature inside QuickBooks Checking, available through QuickBooks Money and QuickBooks Online. Instead of keeping all your business funds in one general balance, envelopes allow you to separate specific amounts for future expenses.
Think of it as creating dedicated savings pockets within your business account. You can label envelopes for different goals such as emergency funds, quarterly taxes, recurring bills, or expansion plans. This structured approach makes it much easier to track what you have reserved and what is still available for daily operations.
An added advantage is that funds stored in envelopes may earn an Annual Percentage Yield (APY), allowing your savings to grow while they remain set aside. The Annual Percentage Yield, commonly known as APY, is the rate that determines how much interest your money earns while it sits inside your QuickBooks Checking envelopes.
In simple terms, it shows how your saved funds can grow over time. The higher the APY, the more your envelope balances can earn, helping your business make the most of money that is set aside for future expenses or goals.
Step 1: Create an Envelope in QuickBooks Online & Money
The first step in setting funds aside is to create a new envelope within your QuickBooks account. This allows you to define a specific purpose for the money you want to reserve, whether it is for taxes, payroll, recurring bills, or future investments.
Note: The steps to create and set funds by using envelopes in QuickBooks Online and QuickBooks Money are different. Follow the steps mentioned below according to the product you are currently using to ensure a smooth setup process.
A. In QuickBooks Online
Here are the steps to create an envelope in QuickBooks Online.
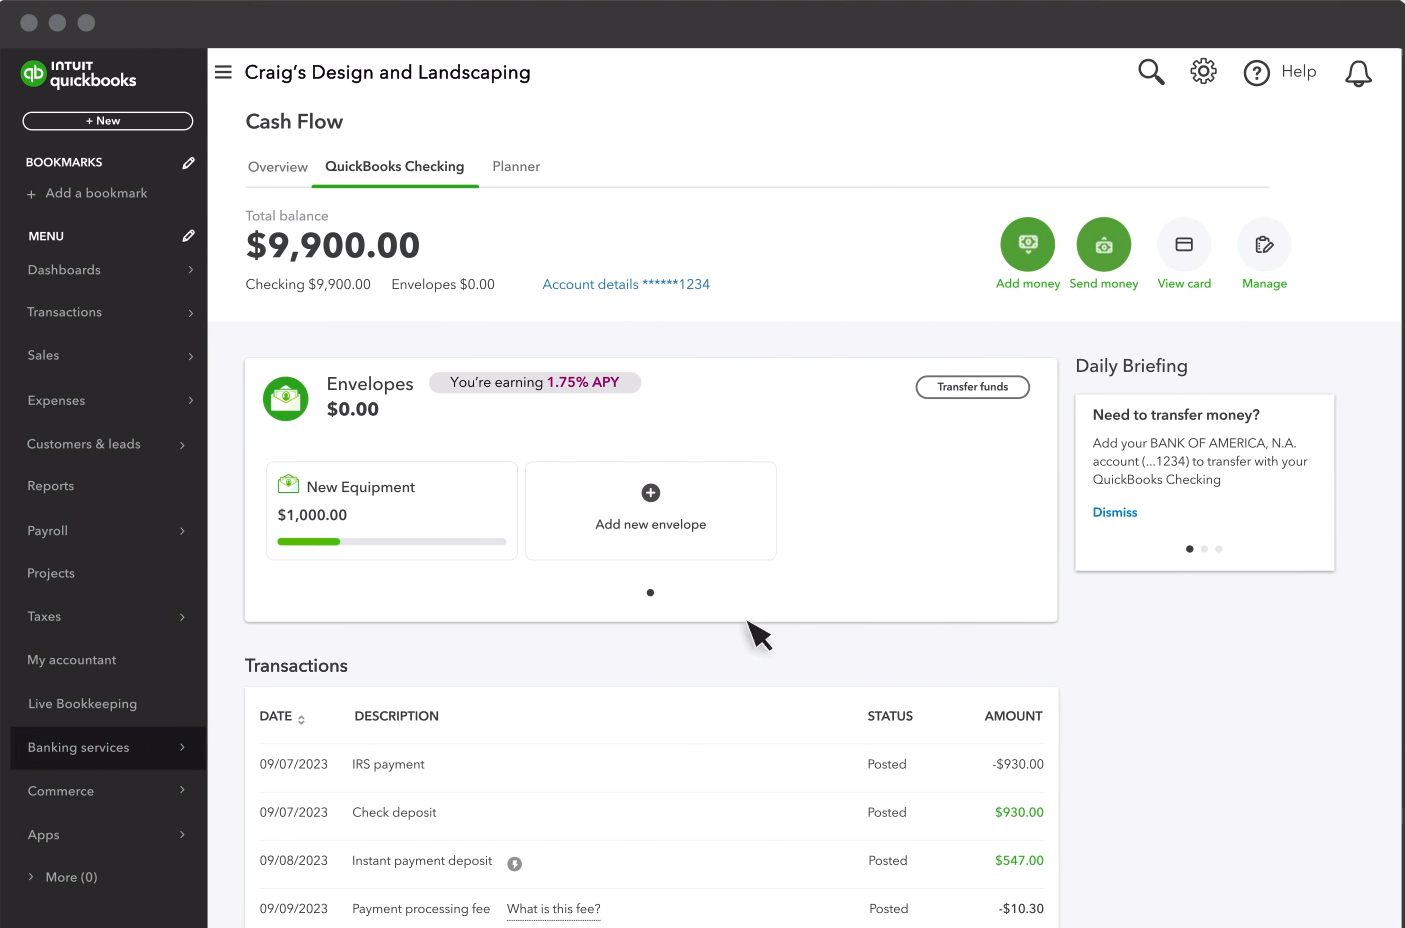
- Open your QuickBooks Online dashboard and navigate to All apps.
- Then, click on Lending and select QuickBooks Checking.
- In the Envelopes section, click Add new envelope.
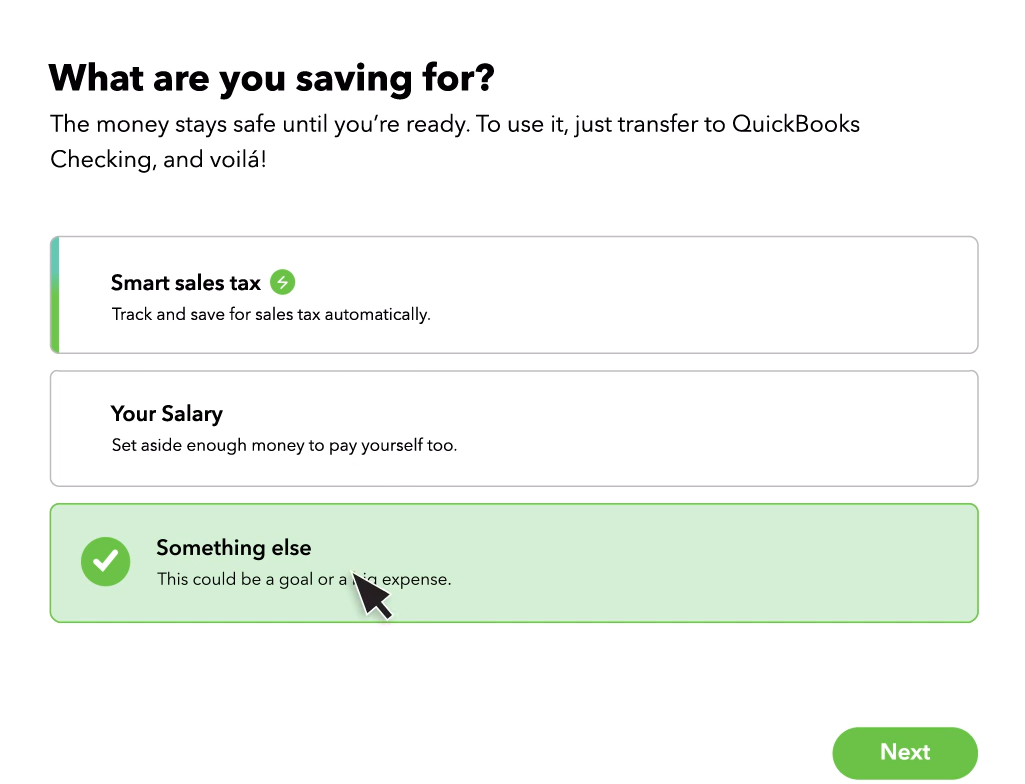
- Now, choose what you’re saving for.
- Note: You can select a preset called Something else.
- Note: You can select a preset called Something else.
- Then, create a unique name for your envelope.
- Note: You can also name it as “Rainy Day Fund.”
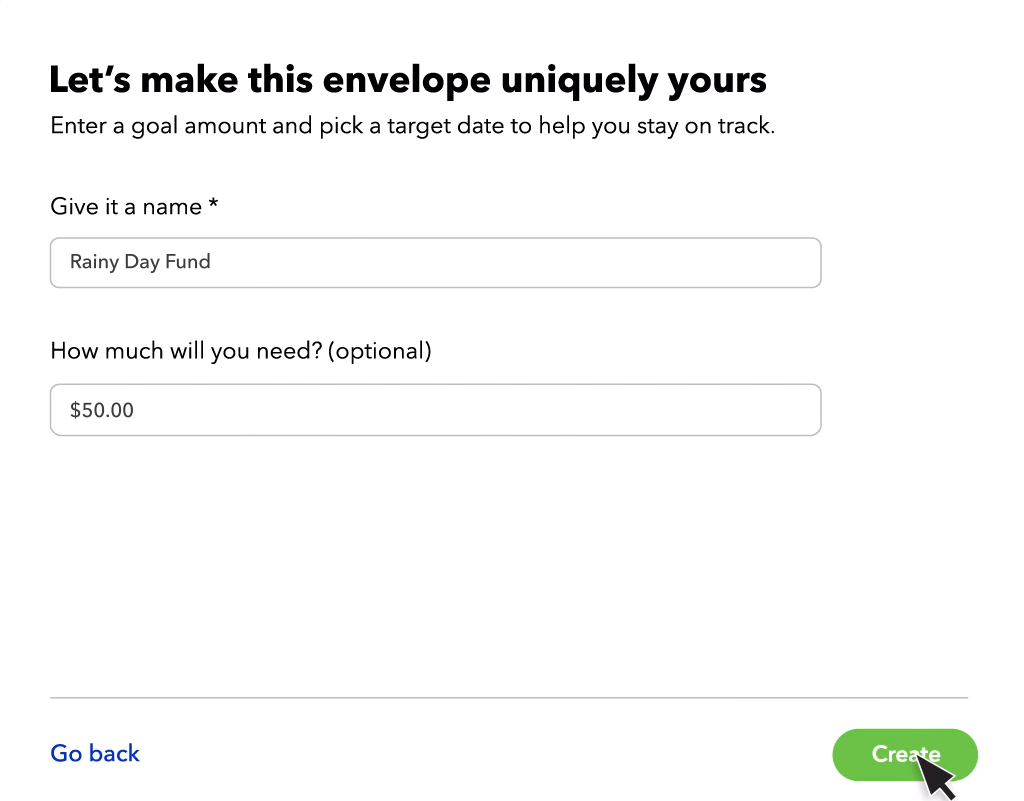
- Optional: Enter how much amount you want to save.
- Optional: Set a target date to reach your savings goal.
- Note: You can also name it as “Rainy Day Fund.”
- Finally, click on Create.
B. In QuickBooks Money
Follow the steps to complete the first step in QuickBooks Money.
- Go to Banking and select Add Envelope.
- Tap or click Let’s do this or Next.
- Choose what you’re saving for.
Note: In case you don’t have a specific figure in mind, click on “Rainy Day Fund” or “Something else.” - Now, name the envelope and then enter the amount you want to set aside.
- Optional: You can enter and save a target date.
- Select Create.
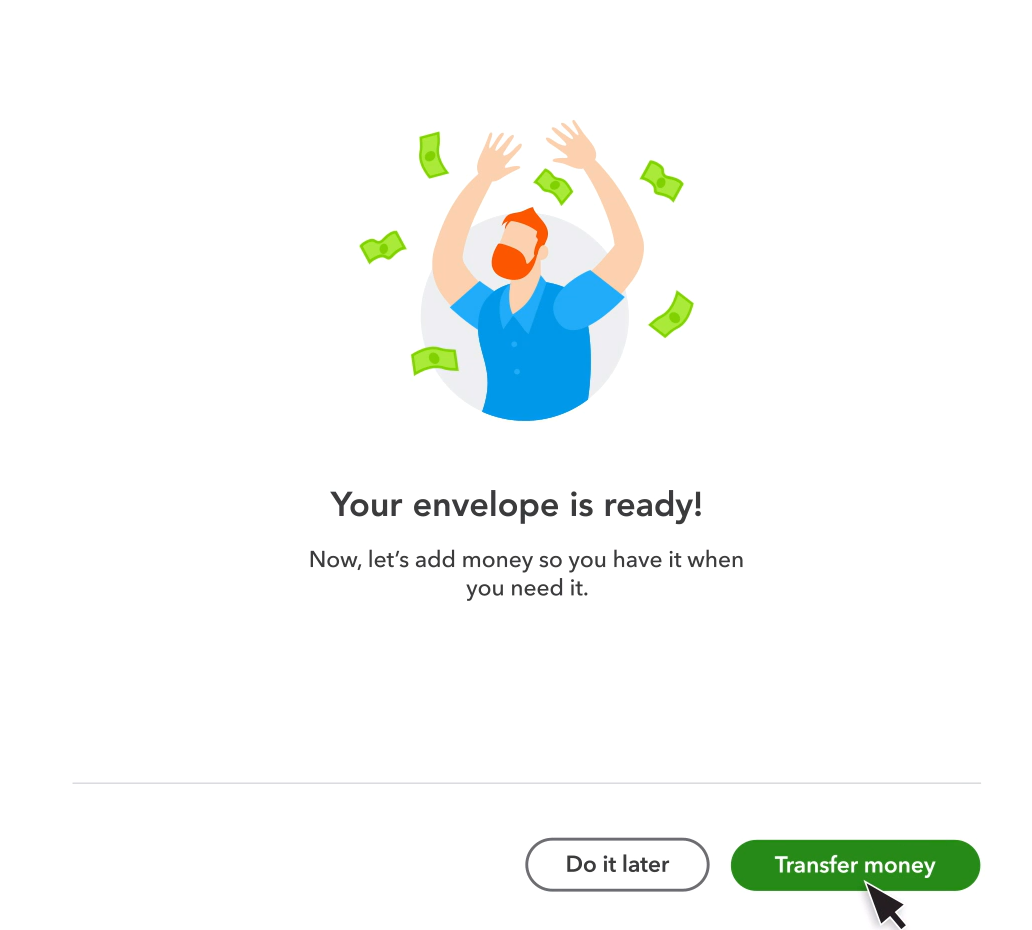
So, that covers the complete process of creating an envelope in QuickBooks Online and QuickBooks Money. Now that your envelope is set up, let’s move on to the next step and see how you can start managing and transferring funds within it.
Step 2: Deposit or Transfer Funds from an Envelope in QuickBooks Online & Money
Once you have created your envelope, the next step is funding it. To allocate money, you simply transfer funds from your QuickBooks Checking account into the selected envelope.
Note: It is important to remember that the funds must first be available in your QuickBooks Checking account before you can move them into an envelope.
The good news is that you are never locked into your initial decision. You can transfer money into an envelope at any time, and you can also remove funds whenever needed. And just like the previous step, the procedure to move money in or out of an employee in QuickBooks Online and Money is different.
A. Steps to Put Money into an Envelope
If you’re transferring money from your QuickBooks Checking account, the process is instant. You can move funds directly into your chosen envelope and immediately see the updated balance reflected in your savings allocation.
If you prefer to fund your envelope from an external bank account, that’s possible too. In this case, the transfer is processed through an ACH (Automated Clearing House) transaction. Since ACH transfers follow standard banking timelines, the funds typically take about 3 to 5 business days to complete.
a. In QuickBooks Online
Follow these steps to transfer funds into one of your envelopes:
- From your QuickBooks Online dashboard, navigate to All apps, then select Lending, and open QuickBooks Checking.
- Go to the Envelopes section and choose the specific envelope where you want to deposit funds.
- Click Add money, then select Transfer money.
- In the From field, choose the account you want to transfer funds from. This can be your QuickBooks Online checking account or any connected external bank account.
- Enter the amount you wish to move into the envelope.
- Confirm that the correct envelope appears in the To field.
- Review the transfer details and click Next to proceed.
- Once the transfer request is complete, select Continue to finish the process.
After completion, the selected amount will be set aside in your chosen envelope, helping you stay organized and prepared for upcoming expenses.
b. In QuickBooks Money
QuickBooks helps you automatically set aside funds for your sales tax obligations through a feature called the Smart Sales Tax Envelope. However, it’s important to note that Smart Sales Tax Envelopes are not currently supported in QuickBooks Money. If you’re using QuickBooks Money, you’ll need to manually create and manage envelopes to save for sales tax instead of relying on the automated feature.
Note: Please refer to the FAQ section below for detailed instructions on how to set up and use the Automated Smart Sales Tax Envelope in QuickBooks Online.
B. Steps to Take Money or Funds Out of an Envelope
When you’re ready to use the money you’ve set aside, the funds must first be moved from the envelope back to your QuickBooks Checking account. Here’s a general step-by-step process to transfer funds out of an envelope:
a. In QuickBooks Online
- Open QuickBooks Checking and navigate to the Envelopes section.
- Select the specific envelope from which you want to withdraw funds.
- Click Send money to begin the transfer process.
- Confirm that the selected envelope appears in the From field.
- In the To field, choose your QuickBooks Checking account as the destination.
- Enter the amount you want to move out of the envelope.
- Select Next to review the details, then click Done once the transfer request is successfully completed.
This process moves the selected amount from your envelope back into your main QuickBooks Checking balance, making it available for spending.
b. In QuickBooks Money
- Go to Banking and open the envelope from which you want to withdraw funds.
- Click Transfer money, then choose Transfer out.
- Enter the amount you wish to move in the Amount field.
- Select QuickBooks Checking as the account to transfer the funds to.
- Confirm that the correct envelope is selected as the source of the funds, then click Next.
- Review the details and select Finish transfer.
- Once the transfer is complete, click Done.
- If you are using the QuickBooks Money mobile app, simply tap Continue after the transfer has successfully been processed.
Now that you know how to deposit or transfer money into and out of your envelopes, the next and final step is learning how to manage them effectively.
Step 3: Manage Your Envelopes
Once your envelopes are created and funded, it’s important to review and manage them regularly to keep your budgeting on track. To manage an envelope, go to the Envelopes section and select the one you want to review. From there, you can:
- View a complete history of funds transferred in and out of the envelope.
- Track interest earned and monitor activity in the Recent Activity section.
- Update the envelope’s name, savings goal, or target date as your plans change.
If you need to modify your savings goal or deadline, follow these steps:
- Open the envelope you want to update.
- Select Edit envelope.
- Make the necessary changes to the Name, Goal amount, or Target date.
- Click Save to apply the updates.
Regularly reviewing and adjusting your envelopes helps ensure your financial goals remain aligned with your business priorities.
Note: QuickBooks Payments accounts are subject to eligibility requirements, credit review, and application approval. Money movement services are provided by Intuit Payments Inc., which is licensed as a Money Transmitter by the New York State Department of Financial Services.
Therefore, these are the steps to create, fund, and manage your envelopes effectively in QuickBooks. By following this structured process, you can allocate money with intention, monitor your savings goals, and maintain better control over your business cash flow. But to manage all these things, one should also be aware of the current rate for your envelope balances. Let’s take a quick look.
Steps to Find the Current Rate for Your Envelope Balances
If your envelopes earn interest, it’s important to stay informed about the current rate being applied to your balances. Checking the rate helps you understand how your savings are growing over time and allows you to plan more effectively. Here are the steps for QuickBooks Online and QuickBooks Money:
In QuickBooks Online
- Go to All apps.
- Select Lending, then choose QuickBooks Checking.
- Click Manage.
- In your web browser, locate the Your Benefits section to view the current rate and related details.
- If you’re accessing it from a mobile device, select View info to see the information.
In QuickBooks Money
- Tap Banking from the homepage.
- Review the Benefits section to find the current interest rate and account perks.
Checking this section regularly helps you stay updated on how your envelope balances are earning over time. Moving ahead, let’s explore the key benefits of using envelopes for QuickBooks Online invoices and other financial activities, and how they can help you manage your cash flow more strategically.
7 Benefits of Using Envelopes for QuickBooks Online Invoices
When you use envelopes in QuickBooks Online, you introduce structure and clarity into your financial workflow. Instead of simply sending invoices and waiting for payments, you can proactively allocate incoming funds for specific purposes. This approach ensures that your revenue is not just recorded but strategically managed.
By integrating envelopes into your invoicing process, you can create a disciplined system that supports budgeting, protects cash flow, and strengthens overall financial control. Below are the seven benefits of incorporating envelopes into your QuickBooks invoicing strategy.
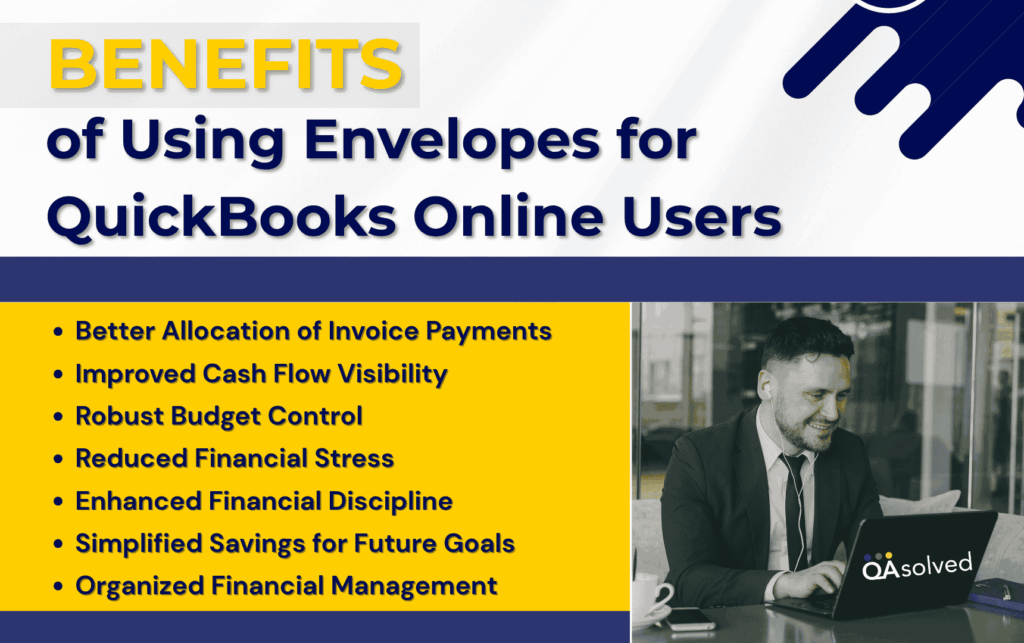
1. Better Allocation of Invoice Payments
Using Envelopes for QuickBooks Online Invoices allows you to assign incoming payments to specific categories such as taxes, payroll, operational costs, or savings. This ensures that every dollar received from clients has a defined purpose, reducing the risk of accidental overspending.
2. Improved Cash Flow Visibility
Envelopes provide a clear snapshot of how much money is available and how much has already been reserved. This transparency helps you make informed financial decisions without second-guessing your available funds.
3. Robust Budget Control
By leveraging QuickBooks Checking Envelopes, you can digitally separate funds within your checking account without opening multiple bank accounts. This makes it easier to manage invoice income responsibly while keeping essential expenses funded and organized.
4. Reduced Financial Stress
When funds are systematically set aside, you avoid last-minute scrambles to cover upcoming expenses. Knowing that money has already been allocated brings confidence and stability to your business operations.
5. Enhanced Financial Discipline
Envelopes encourage intentional spending. Since funds are divided based on goals or categories, you are less likely to dip into money reserved for critical obligations.
6. Simplified Savings for Future Goals
Whether you are saving for tax payments, equipment upgrades, or business expansion, envelopes help you gradually build reserves from invoice income without disrupting day-to-day operations.
7. Organized Financial Management
Incorporating envelopes into your invoicing workflow demonstrates a structured approach to managing business finances. It ensures that your accounting system is not just reactive but strategically aligned with your financial objectives.
By combining invoicing with envelope-based budgeting, you transform routine payment tracking into a proactive financial planning system that supports long-term business success.
In Short,
Bringing structure to your business finances does not have to be complicated. Sometimes, it is about using the right tools in the right way. When you use Envelopes in QuickBooks Online, you are not just organizing money, you are building a smarter financial habit. Instead of letting invoice payments blend into one general balance, you give every dollar a purpose. Taxes have their place. Payroll has its reserve. Savings have their own corner. And suddenly, your cash flow feels less overwhelming and far more intentional.
What makes this system powerful is its simplicity. You create envelopes, move funds, track progress, and adjust goals as your business evolves. Over time, this small practice can lead to better budgeting, fewer surprises, and stronger financial confidence. You are no longer reacting to expenses at the end of the month. You are planning ahead from the very beginning.
Whether you are a freelancer, small business owner, or growing enterprise, envelopes can transform the way you manage invoice income and daily transactions. So instead of guessing where your money goes, start directing it with clarity. With the right setup, your QuickBooks account becomes more than accounting software. It becomes a proactive financial strategy for long-term success.
Frequently Asked Questions
Both #9 and #10 envelopes are standard business mailing envelopes often used for invoices, statements, checks, and official correspondence. They are especially popular for mailing documents printed from accounting software like QuickBooks. The primary difference is their size.
– A #9 envelope typically measures 3 7/8 inches x 8 7/8 inches.
– A #10 envelope typically measures 4 1/8 inches x 9 1/2 inches.
In short, the #10 envelope is slightly larger than the #9 envelope.
Self-Seal Forms Envelopes are specially designed for mailing envelopes created to securely send invoices, statements, and other printed business forms. These envelopes are commonly used with documents generated from accounting software such as QuickBooks, ensuring proper alignment, and a professional presentation.
The key feature of self-seal envelopes is their adhesive closure strip. Instead of moistening the flap or using tape, you simply peel off the protective strip and press the flap down to create a secure seal. This makes the mailing process faster, cleaner, and more efficient, especially for businesses that send high volumes of invoices or forms.
1. Turn on Automated Sales Tax (if not already enabled).
2. Go to Smart Sales Tax Envelope.
3. Select Add envelope.
4. Click Let’s do this.
5. Review the suggested amount and transfer schedule from your QuickBooks Checking account.
6. Select Transfer funds.
7. Choose Transfer now to move the initial amount immediately or Do it later to schedule the first transfer for a later date.
The standard size commonly used for QuickBooks check envelopes is #8, which is often slightly larger than a traditional #8 format and may sometimes be listed close to a 3 5/8″ x 8 5/8″ or similar dimension depending on the manufacturer. These envelopes are specifically designed to fit QuickBooks voucher checks securely.
Both options serve different purposes, and the right choice depends on your needs. Creating a sub-account within QuickBooks Online makes it easier to organize your finances internally. It allows you to track tax reserves separately in your chart of accounts without opening a new bank account. This approach simplifies reporting and keeps everything neatly categorized within your accounting system.
The number of envelopes you can create may depend on your account eligibility and current QuickBooks plan. While the system is designed to support multiple budgeting categories, it is recommended to review your account settings inside QuickBooks Online for any platform-specific limits or updates related to envelope creation.
No. Transfers between envelopes and your QuickBooks Checking account do not create income or expense transactions in your chart of accounts. They are internal fund allocations within the same account and do not impact profit and loss reports.
