
Filing 1099s form doesn’t have to be complicated or stressful. If your business works with freelancers, independent contractors, or other non-employees, knowing how to create and file 1099s using QuickBooks Online in 2026 can save you valuable time, reduce manual errors, and help you stay fully compliant with IRS reporting requirements. With contractor payments becoming increasingly common across industries, accurate 1099 reporting has become more important than ever.
Also, mistakes in 1099s filings can lead to penalties, IRS notices, rejected forms, and unnecessary delays during tax season. These issues not only disrupt your workflow but can also create compliance risks for your business. Which is why any business that deals with contractors and other independent professionals through cash, checks, or direct deposits must ensure timely and accurate filing of 1099s.
Whether you’re filing 1099s for the first time or managing them annually, having a clear process in place can make tax season far more manageable. Moving ahead in this blog, we will walk you through the step-by-step process to create and file 1099s in QuickBooks Online to help you stay compliant with current tax regulations. So, let’s begin with it.
What Are 1099s and Why Are They Important?
1099s form is an IRS-mandated tax document that is used to record payments made to non-employees’ individuals. This form helps the IRS track income that does not fall under regular wages and ensure accurate tax reporting for both businesses and recipients. Among the various 1099 form types, Form 1099-NEC and Form 1099-MISC are the most commonly used, and they are often confused despite serving different purposes.
Form 1099-MISC is used to report income earned from nonemployee sources such as rent, royalties, prize winnings, awards, and other miscellaneous payments. Businesses are required to file this form only when IRS-defined payment thresholds are exceeded. The filing deadline for Form 1099-MISC is March 31 when filed electronically or February 28 for paper filing.
Form 1099-NEC, on the other hand, is specifically used to report nonemployee compensation, including payments made to independent contractors for services rendered. If a business pays $600 and more to a contractor during the tax year, it must issue Form 1099-NEC to both the contractor and the IRS. This form must be filed by January 31, regardless of whether it is submitted electronically or by paper.
What’s the Difference Between 1099-NEC and 1099-MISC?
Understanding the difference between Form 1099-NEC and Form 1099-MISC is essential to ensure accurate tax reporting and IRS compliance. While both forms are used to report certain types of payments made to non-employees, they serve different purposes and apply to different types of income. Choosing the correct form depends on the nature of the payment made during the tax year.
| Basis of Comparison | 1099-NEC | 1099-MISC |
| Primary Purpose | Reports nonemployee compensation | Reports miscellaneous types of payments |
| Common Use | Payments to independent contractors or freelancers | Rent, royalties, prizes, awards, medical payments, etc. |
| Typical Payment Type | Service-based payments | Non-service or special category payments |
| Reporting Threshold | Generally $600 or more in a year | Usually $600 or more (royalties may have a lower threshold) |
| Key Box Used | Box 1 – Nonemployee Compensation | Multiple boxes depending on payment type |
| Who Receives It | Independent contractors, consultants, gig workers | Landlords, attorneys, healthcare providers, and others |
| Filing Deadline (IRS) | Typically January 31 | Usually February (paper) or March (e-file), depending on the tax year |
| Introduced/Reinstated | Reintroduced in 2020 | Long-standing IRS form |
This distinction helps businesses file the correct form based on the type of payment made, reducing the risk of penalties or rejected filings.
Importance of Creating and Filing 1099s using QuickBooks Online
1099s is important because they ensure accurate income reporting and IRS compliance for both businesses and contractors.
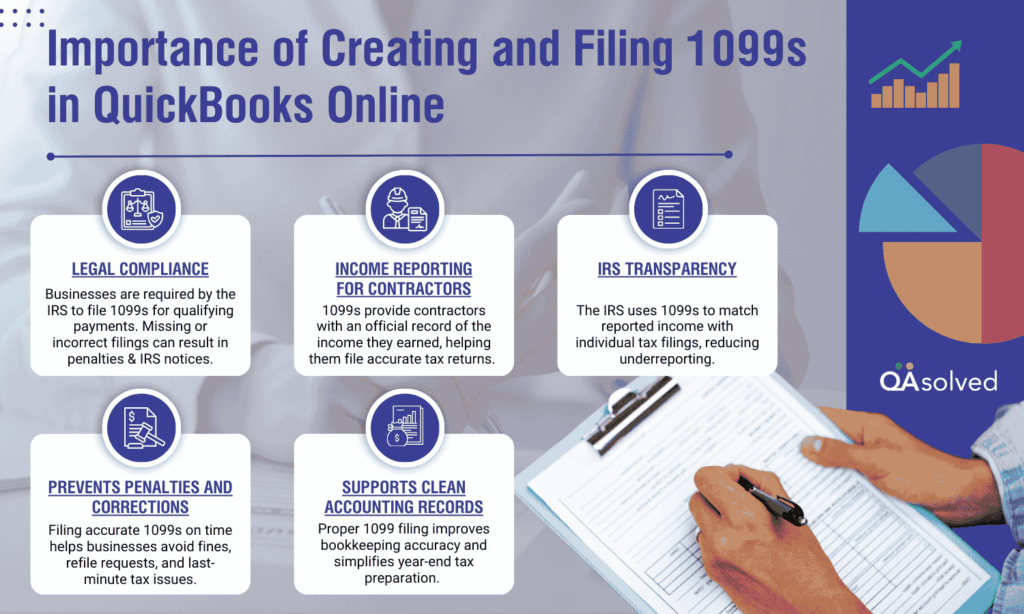
- Legal Compliance: Businesses are required by the IRS to file 1099s for qualifying payments. Missing or incorrect filings can result in penalties and IRS notices.
- Income Reporting for Contractors: 1099s provide contractors with an official record of the income they earned, helping them file accurate tax returns.
- IRS Transparency: The IRS uses 1099s to match reported income with individual tax filings, reducing underreporting.
- Prevents Penalties and Corrections: Filing an accurate 1099s on time helps businesses avoid fines, refile requests, and last-minute tax issues.
- Supports Clean Accounting Records: Proper 1099 filing improves bookkeeping accuracy and simplifies year-end tax preparation.
In short, 1099s play a critical role in documenting non-employee payments, maintaining tax compliance, and ensuring smooth financial reporting for businesses of all sizes. This makes it essential for businesses to understand the differences between 1099-NEC and 1099-MISC and adhere to their respective filing deadlines to avoid penalties, errors, and compliance challenges.
Steps to Create and File 1099s using QuickBooks Online in 2026
QuickBooks Online simplifies the process of creating and filing 1099 forms by using the contractor and payment information already stored in your account. It supports the preparation and electronic submission of both 1099-NEC and 1099-MISC forms for contractors paid through cash, checks, or direct deposits. You can submit federal and select state filings directly through the platform and easily deliver copies to contractors via email or printed mail, with applicable filing fees.
But before diving straight into the technical steps, make sure to go through certain prerequisites to make sure you meet all filing requirements and avoid errors later in the process.
6 Prerequisites Before Filing 1099s with QuickBooks Online in 2026
Before you begin the 1099 filing process, it’s important to ensure that certain key requirements are properly addressed within your QuickBooks Online account. Reviewing these prerequisites helps prevent errors, delays, and compliance issues, while ensuring a smoother and more accurate 1099 filing experience. Here are the six most crucial prerequisites to review before filing your 1099s.

1. E-File Requirement
According to intuit, businesses that are required to submit 10 or more total information returns, including 1099s, W-2s, or other federal forms, must file them electronically. This requirement aligns with the IRS’s updated e-filing regulations for businesses.
2. Accurate Contractor Information
Ensure that each contractor’s legal name, address, and Taxpayer Identification Number (TIN) are correctly entered in QuickBooks Online. Missing or incorrect details can lead to rejected filings and delays.
3. 1099-NEC Filing Threshold
You are required to file Form 1099-NEC if you paid a non-employee $600 or more in cash during the previous tax year or if any amount of federal income tax was withheld under backup withholding rules.
4. Correct Vendor Classification
Vendors must be properly marked as eligible for 1099s in QuickBooks Online. Payments made to vendors not classified as contractors may be excluded from 1099 calculations.
5. Proper Account Mapping
Confirm that contractor payments are assigned to the correct expense accounts that are mapped for 1099 reporting. Incorrect account mapping can cause underreporting or overreporting payments.
6. Exclusion of Certain Electronic Payments
The IRS does not permit certain electronic transactions to be reported on Form 1099-NEC or 1099-MISC. Payments made via credit cards, debit cards, gift cards, or third-party platforms such as PayPal are excluded, as these payment processors are responsible for reporting them. QuickBooks Online automatically omits these payments from your 1099 calculations.
With the prerequisites in place, let’s walk through the three steps to create and file 1099s using QuickBooks Online for 2025.
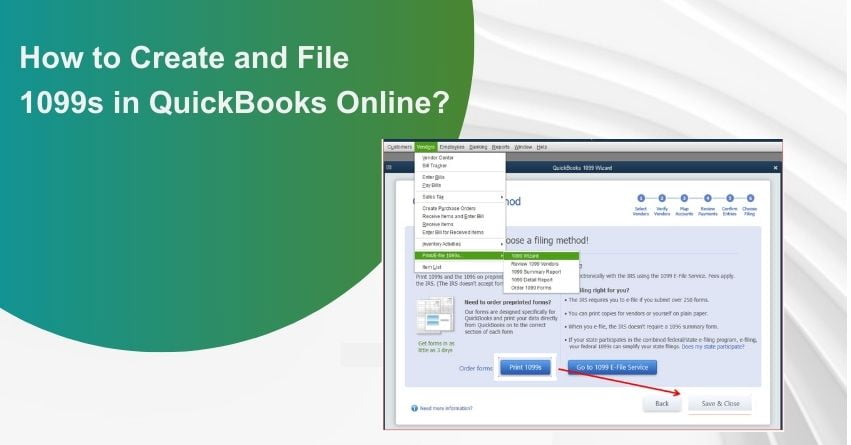
Step 1: Create Your 1099s Form
The first step in the process is to create your 1099 forms in QuickBooks Online. This is where you begin reviewing contractor details and preparing the information that will be submitted to the IRS. QuickBooks Online provides two different options to create your 1099s, allowing you to choose the method that best fits your workflow and filing preferences. Let’s take a closer look:
Option 1: Let QuickBooks Prep for You
- Open All Apps from the dashboard (you’ll see a grid of app tiles), then navigate to Expenses & Bills and select 1099s.
- Click Prepare 1099s to begin the setup process.
- Choose Let QuickBooks do it and then select Get started to allow QuickBooks to prepare your 1099s automatically.
Once you’re done with these three sub-steps, you need to review your company’s info. Verify that your business name, email address, mailing address, and tax identification number are accurate and match the details shown on IRS tax notices or correspondence. If any information needs updating, select Edit to make the necessary changes. - Now, you need to review your forms by clicking on View Results.
- QuickBooks gathers and displays a list of recipients who may meet the 1099 reporting requirements, allowing you to review and confirm the details before moving forward.
After this, you should review the recipient list as well to make sure everything makes sense. After reviewing the entire list: - Select the dollar amount next to each contractor to review payment details, including linked accounts, mapped 1099-NEC or 1099-MISC boxes, and any excluded amounts.
- Choose Update account mapping to 1099 boxes if you need to adjust how contractor payments are categorized.
- Once everything looks correct, select I’ve reviewed and am ready to file to proceed.
Option 2: Prep with QuickBooks Help
- From the dashboard, open All Apps (the tile-style menu), go to Payroll, and select Contractors.
- Click Prepare 1099s, choose I’ll do it myself, and then select Get started.
- Review your company details and ensure your business name, email address, mailing address, and tax ID match the information on IRS notices or correspondence.
- Now, select Edit to make any updates, then click Confirm info and get started.
- Then, click on Select accounts and choose the expense or payment accounts used for contractor payments, then click Add.
Note: For each account added, assign the appropriate 1099-NEC or 1099-MISC box that reflects the type of payments made during the year. Most businesses typically select Nonemployee Compensation (Box 1 – 1099-NEC) but consult your accountant if other payment types apply. - Once the account mapping is complete, select Next to continue.
After this, you need to review your contractors and the totals. - On the Tracked 1099 tab, select the checkbox next to each contractor who should receive a 1099. Verify that their personal details and email addresses are accurate and select Edit to update any information if needed.
- If a contractor is missing, go to the Not tracked for 1099 tab, select Add to tracked list, and then choose Back to return to the main list.
- Review the Reportable total for each selected contractor and select Next to continue.
Note: Keep in mind that certain electronic payments, such as those made via credit card or PayPal, won’t appear because those payments are reported by the payment processors. If expected payments are missing, use the Reportable payments only dropdown and select non-reportable payments only to view them. - Select Preview to review each 1099 form and confirm the amounts in the appropriate boxes.
- Select Continue to 1099-MISCs to review your 1099-MISC forms, then click Next to proceed.
Finally, you need to select the filing method. - Select Continue to E-File to submit your 1099 forms electronically.
- Alternatively, choose I’ll print and mail if you prefer to file paper forms on your own.
Note: The IRS places limits on how many forms can be filed on paper. Businesses exceeding this limit are required to e-file under current IRS and Treasury regulations.
Also Read: How to Print 1099 and 1096 Forms in QuickBooks?
For QuickBooks Online Accountant
Follow the given-below steps to create and file 1099s in QuickBooks Online Accountant for the year 2025. With Automated 1099 preparation, you can create 1099 forms for your clients directly from your QuickBooks Online Accountant account. This feature allows you to manage and file 1099s efficiently in one place, with applicable service fees. Automated forms provide you with:
- Get a clear overview of 1099 eligibility and filing status for all your clients briefly.
- Prepare and manage 1099 filings for every client directly from your client’s dashboard.
- Download all completed 1099 forms for your clients in one step once filing is complete.
Get Started in QuickBooks Online Accountant
- From Your Practice, select 1099s, then choose E-file.
- Review the estimated 1099 filings and check for any missing W-9 information across all clients.
- Select the Sync option to ensure you’re viewing the most up-to-date filing estimates.
- In the Actions column, choose Review and file forms ready to submit, Manage W-9 to update contractor details, or Edit company info to resolve any alerts.
Note: For detailed instructions on e-filing using Automated 1099, refer to Create and file 1099s with QuickBooks Online. Service fees may apply. - Select Go to client view to exit the client hub and manage an individual client’s 1099s directly within their own QuickBooks Online account.
Now, you need to check the filing status for each of your clients. Here are the next steps: - From Your Practice, select 1099s, then choose Completed Forms.
- Select Download to retrieve all completed 1099 forms for your clients in a single file.
- Choose Go to Client View or Review and file to see detailed filing information for an individual client and complete any post-filing actions.
If you prefer to prepare 1099s without QuickBooks assistance, select Prep forms myself to review what’s included, then access each client’s QuickBooks Online account to begin the process. Now, let’s move ahead with the second and third steps.
Step 2: E-File Your 1099s
Now that your 1099s are prepared and all details have been reviewed for accuracy, you’re ready to proceed with e-filing.
- Once your 1099s are prepared, select the E-file option and review the forms for accuracy.
- Follow the on-screen instructions to submit your federal 1099s and, where applicable, complete state filings. You’ll also have the opportunity to review each contractor’s 1099 before submission.
- When prompted, select how contractors should receive their copies. Additional fees may apply if you choose to have the forms mailed.
- If this option isn’t available, it means your contractors already have online access to their 1099s through QuickBooks.
- If a contractor’s email address is incorrect, update it in QuickBooks and then restart the 1099 e-file process.
- If required, enter your billing information.
Note: Copy A of Form 1099 is intended for your records only and should not be printed or mailed to the IRS.
Step 3: Check Your Filing Status
Once your 1099s are submitted to the IRS using the steps above, you’ll receive email updates on the filing status. You can also track the status at any time directly within QuickBooks Online.
- Navigate to Taxes, then select 1099 Filings.
- Check the progress of your submission under Filing Status.
- Select View 1099 to open and download a PDF copy of the filed form.
With these steps, you can easily track your 1099 e-filing progress and access completed forms anytime within QuickBooks Online, giving you full visibility and peace of mind throughout the filing process.
Understand 1099s Filing Statuses in QuickBooks Online
This section explains the different filing statuses you may see after submitting your 1099s forms in QuickBooks Online in 2026 and what each status means for your filing progress and next steps.
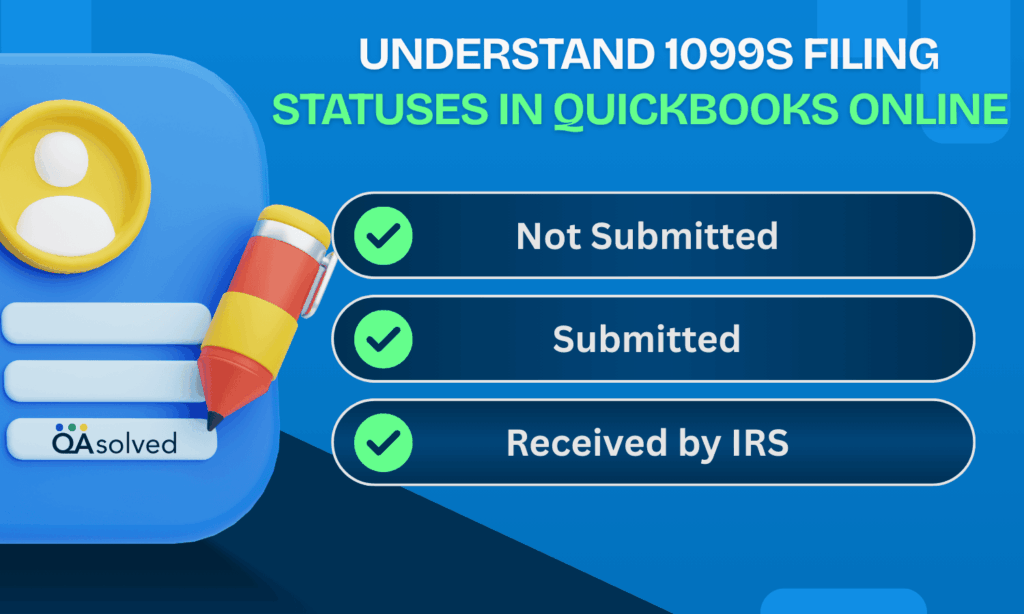
1. Not Submitted
This status indicates that Form 1099-NEC or 1099-MISC has not yet been e-filed with the IRS. You can still review, edit, and make changes to the form before submitting it.
2. Submitted
This status means your 1099 form has been successfully e-filed with the IRS. If corrections are required after submission, you may need to file a manual amendment by following the IRS-provided instructions and using the appropriate correction forms.
3. Received by IRS
This status confirms that the IRS has received your 1099 form and is either processing it or has already approved it. You will typically receive an email confirmation about a week after the IRS accepts the filing, although this confirmation may arrive in mid-January or later, depending on processing timelines.
Who Needs to File 1099s Form?
Businesses and individuals that make certain types of payments to non-employees during the year may be required to file 1099 forms.

- Businesses Paying Independent Contractors: Any business that pays freelancers, consultants, or independent contractors $600 or more during the tax year must file 1099s.
- Payments Made for Services, Not Employees: 1099s are required for non-employee compensation, not for wages paid to employees who receive a W-2.
- Cash, Check, or Direct Deposit Payments: Businesses must file 1099s for contractor payments made via cash, check, or direct deposit.
- Rent and Other Miscellaneous Payments: Businesses paying rent, royalties, prizes, awards, or similar income types may need to file Form 1099-MISC when IRS thresholds are met.
- Most Business Structures: Sole proprietors, partnerships, LLCs, and corporations may all have 1099 filing obligations depending on the payment type and recipient.
Frequently Asked Questions
You can print completed 1099 forms directly from your QuickBooks Online account. Follow these steps:
1. Go to Taxes and select 1099 filings.
2. Choose the appropriate tax year.
3. Locate the contractor whose form you want to print.
4. Select View 1099 to open the PDF copy.
5. Download and print the form.
If you’re using pre-printed IRS forms, double-check your printer’s alignment settings before printing.
1. Go to QuickBooks Online.
2. Next, go to taxes and select 1099 fillings.
3. Select view 1099 to view a PDF copy.
Creating a 1099 starts with properly setting up your contractor. First, ensure that your contractor is added as a vendor and marked as eligible for 1099 tracking. Enter their W-9 details, including their Tax Identification Number (TIN) and address.
Next, navigate to Taxes > 1099 filings, review the recorded payments, map eligible expense accounts to the correct 1099 boxes, and follow the prompts to prepare and e-file the form.
The correction process depends on whether the 1099 has already been filed with the IRS.
A. If the 1099 has NOT been submitted yet:
You can simply make the necessary changes within QuickBooks Online:
1. Update the contractor’s information (name, address, or TIN).
2. Edit or reclassify payment transactions.
3. Review account mappings to ensure expenses are assigned to the correct 1099 box.
After making updates, regenerate and review the form before proceeding with e-filing.
B. If the 1099 has already been e-filed and accepted:
You’ll generally need to submit a corrected 1099. In many cases, this involves preparing an amended form following IRS correction guidelines. QuickBooks may allow corrections within the filing flow, but if not, you may need to file the correction manually with the IRS.
Always verify all details carefully before resubmitting to avoid further amendments.
If your 1099 Transaction Detail Report isn’t displaying correctly or appears incomplete, several common issues could be causing the problem. Reviewing these areas can usually help you identify and resolve them quickly.
1. 1099 Tracking Is Not Enabled
2. Expense Accounts Aren’t Properly Mapped
3. Non-Reportable Payment Methods Were Used
4. Incorrect Reporting Period Selected
5. Browser or Display Issues
Refreshing the report, enabling the tracking, or clearing your browser cache can often resolve display problems.
You generally do not create a 1099 for an employee in QuickBooks Online. Employees are issued a W-2 form, not a 1099. Form 1099-NEC or 1099-MISC is used for independent contractors and other non-employees who are paid for services.
If someone is classified as an employee in payroll, QuickBooks will generate a W-2 at year-end. You cannot issue a 1099 to an employee. If they should be an independent contractor, review and correct their classification and setup.
1. Review their worker classification to ensure compliance with IRS guidelines.
2. Set them up as a vendor (contractor) instead of an employee.
3. Enter their W-9 details, including their Tax Identification Number (TIN).
4. Record eligible payments under properly mapped 1099 accounts.
Once properly classified as a contractor, you can prepare and file their 1099 form through Taxes > 1099 filings in QuickBooks Online.
QuickBooks charges a fee of $4 per form or employee for printing and mailing year-end 1099 and W-2 tax forms to vendors, contractors, and employees. However, electronic filing with the IRS and sending a digital copy to recipients is included as part of your QuickBooks Online subscription, with no additional charge for e-filing.
No. QuickBooks Online does not automatically file 1099s without your review and approval. However, it can automatically calculate eligible payments, organize contractor information, and prepare the forms using the data in your account. You must review the details and manually confirm submission before the forms are e-filed with the IRS.
The automated 1099 preparation feature allows QuickBooks to gather contractor payment data, identify eligible recipients, and prefill the required forms based on mapped accounts. This streamlines the process by reducing manual data entry and minimizing errors. After reviewing the prepared forms, you can proceed with e-filing directly within the platform.
