

Starting fresh in your accounting software can be a daunting thought, especially when it involves clearing data from a system like QuickBooks Online. Whether you’re a small business owner, an accountant, or a bookkeeper, there may come a time when your company file is cluttered with incorrect entries, duplicate transactions, or simply test data that no longer serves a purpose. In such cases, knowing how to delete data and start over in QuickBooks Online can save both time and frustration.
QuickBooks Online is designed to streamline your accounting processes, but like any powerful software, it requires careful handling when it comes to deleting information. Unlike traditional spreadsheets, once data is entered into QuickBooks Online, it can affect your reports, tax filings, and financial statements. This makes the process of starting over slightly more complex than a simple “delete” command.
However, many users are not really aware of the steps that are crucial for safely resetting their QuickBooks Online data. If you’re one of those, then this blog is ideal for you to understand how to delete data and start over in QBO again. Here, we’ll walk you through the step-by-step process of deleting and restarting your data in QuickBooks Online. So, let’s get started!
Steps to Delete Data and Start Over in QuickBooks Online
When your QuickBooks Online account is cluttered with test data, incorrect entries, or outdated information, it might be best to start over. If you’re restructuring your finances or correcting initial setup errors, cleaning your data can give you a fresh start.
Your next steps will depend on your QuickBooks Online subscription and how long you’ve been using the platform. If your company file has been active for 90 days or more, you will need to cancel your current QuickBooks Online account and create a new one to start fresh. Here’s how you can start over:
Before You Start:
- Ensure you are signed in to QuickBooks Online with an admin account.
- Keep in mind that this process will remove data from only a single QuickBooks Online company.
- If you want to remove all or part of your Intuit data, learn more about managing data.
Tip: If you’re unsure about how old your company is, sign in to QuickBooks Online and refresh this page to see steps tailored to your account.
A. If Your Books Are 90 Days Old or Older
You’ll have to close your current QuickBooks Online account and set up a new one from scratch. Here are the steps to do the same:
Step 1: Cancel Your Current Company Account
Click the link to cancel your current company account, and if you’re using payroll, make sure to cancel your payroll subscription as well.
Note: Canceling QuickBooks does not erase your data. You will retain read-only access to your company information for one year. To permanently remove a canceled company, learn more about managing your personal data through your Intuit Account.
Step 2: Start a New Company
Here are the steps to start a new company in QuickBooks Online:
- Sign up for a new QuickBooks Online account.
- Log in using your existing user ID and password, your previous credentials will work.
- Optional: If your former company used payroll, remember to include Payroll in Step 2 of the sign-up process.
B. If Your Books Are Less Than 90 Days Old
Follow the given below steps in case your books are less than 90 days old:
Step 1: Confirm Your Company is Ready for a Fresh Start
Before you begin, make sure you really want to erase all your data. Keep an eye out for the following considerations:
- If your QuickBooks Online company is linked to banks or third-party apps, clearing your data could permanently disrupt these connections.
- This process does not cancel your QuickBooks or Payroll subscriptions, but it will completely erase your books. Any employee information or historical data you want to retain will need to be re-entered.
- The steps outlined here apply only to QuickBooks Online Essentials, Plus, and Advanced. If you’re using QuickBooks Online Simple Start, follow the procedure for companies that are over 90 days old.
Step 2: Delete Your Company Data
Follow the steps given below to successfully delete your company data.
- Log in to your QuickBooks Online account.
Important: Make sure you’re signed in with an admin account, and confirm that you’re accessing the company you intend to purge. - After signing in, open the provided link or visit the web address directly.
- To confirm that you want to delete your company data, type Yes and click OK.
- Choose your industry from the dropdown menu.
- Select Create accounts based on my industry. This allows QuickBooks to set up your chart of accounts after wiping your data. Also, avoid choosing “Create an empty chart of accounts” unless you’ve consulted with your accountant.
- Click Wipe Data to start the process.
Resetting your QuickBooks Online company gives you the opportunity to start fresh, correct past errors, and organize your financial records more efficiently. By following the steps, signing in as an admin, confirming your intent to delete data, selecting your industry, and wiping your books, you can ensure a smooth transition to a clean slate.
Remember to take note of important considerations, such as linked banks, third-party apps, and payroll information, before proceeding. Once completed, you’ll have a fully reset QuickBooks Online account, ready for accurate bookkeeping and better financial management moving forward.
Reasons to Reset Your QuickBooks Online Data and Begin Anew
Sometimes, your QuickBooks Online account can become cluttered with incorrect entries, duplicate transactions, or outdated information. Resetting your data and starting over can help you regain control, simplify bookkeeping, and set up a more accurate accounting system. Here are some common reasons why users choose to wipe their QuickBooks Online books and begin fresh:
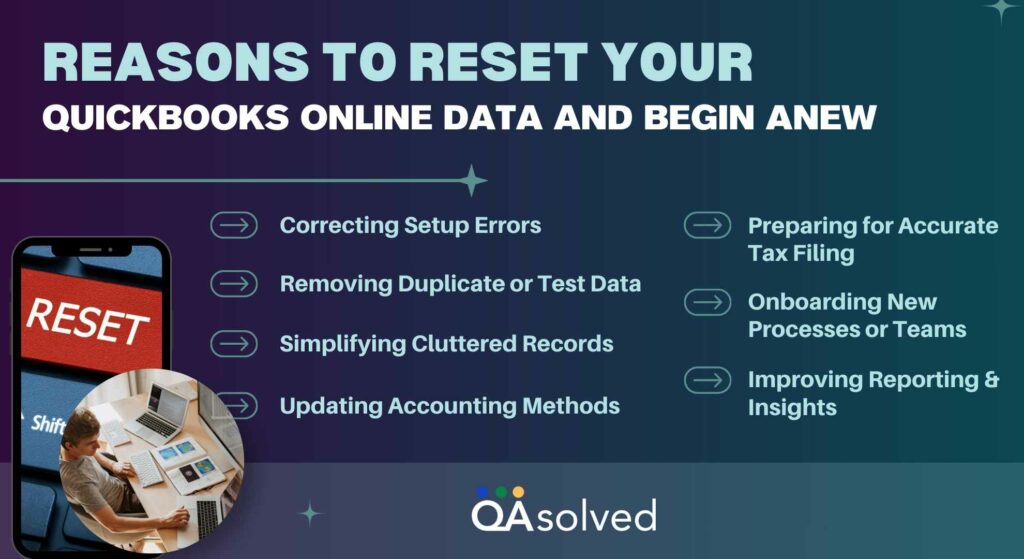
1. Correcting Setup Errors
If your company was initially set up with incorrect account structures, tax settings, or financial preferences, it can create long-term confusion in your records. Resetting your QuickBooks allows you to start fresh with properly configured accounts, ensuring your financial data is accurate and reliable.
2. Removing Duplicate or Test Data
Many users enter test transactions or accidentally create duplicates while learning the system. These unnecessary entries can clutter reports and make it difficult to track actual business activity. Starting over helps remove these distractions and maintain clean, accurate records.
3. Simplifying Cluttered Records
Over months or years, invoices, bills, customer accounts, and vendor records can pile up. A reset provides an opportunity to organize your books, remove outdated information, and streamline your financial data for better clarity.
4. Updating Accounting Methods
Switching from one accounting method to another, such as moving from cash-based to accrual accounting, may require a clean slate to apply the new method correctly. Resetting ensures your financial statements reflect the chosen accounting approach accurately.
5. Preparing for Accurate Tax Filing
Incomplete or messy records can lead to mistakes during tax season. Starting fresh helps ensure your income, expenses, and deductions are properly recorded, minimizing errors and reducing the risk of audits or penalties.
6. Onboarding New Processes or Teams
When implementing new bookkeeping workflows, introducing new accounting software features, or bringing in a new accountant or team, beginning with a clean set of books ensures everyone works from a consistent, organized foundation.
7. Improving Reporting and Insights
Clean, well-organized data allows QuickBooks Online to generate more precise financial reports and actionable insights. This can help you make informed business decisions, identify trends, and plan for growth more effectively.
So, these are some of the key reasons why users choose to reset their QuickBooks Online data and start fresh.
Conclusion
Starting over in QuickBooks Online may seem like a significant step, but it can be one of the most effective ways to regain control over your financial data. Over time, company files can accumulate errors, duplicate transactions, outdated records, and incorrect setups that make bookkeeping confusing and reporting inaccurate. By resetting your data and beginning fresh, you can simplify your accounts, ensure proper configuration, and create a clean foundation for all future transactions.
The above-mentioned steps not only helps correct past mistakes but also enables you to implement better accounting practices, update workflows, and onboard new team members or processes more smoothly. Accurate, organized data improves reporting, insights, and decision-making, allowing your business to grow with confidence.
Ultimately, taking the time to reset your QuickBooks Online account can save you time, reduce errors, and provide a clearer view of your business’s financial health.
Frequently Asked Questions
1. Go to the Gear icon and select Chart of Accounts.
2. Locate the bank or credit card account and click View register.
3. Look for a transaction labeled Opening Balance (usually the first one).
4. Click the transaction, change the amount and date if needed, then Save.
5. If your balance still doesn’t match the bank, go to Accounting > Reconcile and follow the steps.
1. Click on Sales > All Sales or Expenses from the left panel.
2. Use the filters (date range, type, customer/vendor) to narrow down the entries you want to delete.
3. Check the boxes next to the transactions you want to delete. (Note: You can only select certain types, like invoices or expenses—bank transactions must be handled separately.)
4. Click Batch actions > Delete.
– Confirm the deletion.
Customers cannot be permanently deleted from QuickBooks, but they can be marked as inactive:
1. Go to Sales > Customers.
2. Click on the customer’s name.
3. Select Edit.
4. Choose Make Inactive.
5. Confirm by clicking Yes.
Repeat for each customer manually.
Apply a Payment
A balance due to unpaid invoices is as follows:
1. Go to + New > Receive Payment.
2. Select the customer and apply the payment to the open invoice.
3. Save and close.
Create a Credit Memo
If the balance is incorrect or should be written off:
1. Go to + New > Credit Memo.
2. Select the customer and enter the amount.
3. Save, then apply the credit to the open invoice through Receive Payment.
Use a Journal Entry (Advanced)
For misentered balances:
1. Go to + New > Journal Entry.
2. Debit or credit the appropriate accounts to remove the balance.
3. Consult your accountant before using this method.
