
In the context of modern FinTech solutions, Intuit’s QuickBooks has revolutionized the ways to manage all the financial aspects of the business for both small and mid-sized companies. With a wide range of products and services, QuickBooks has become an ideal choice for these thriving companies. Two of these products that cater to a specific target audience are QuickBooks Mac and QuickBooks Desktop or PC. Though the users of these products are different, there comes a point when many users look to move their QuickBooks Mac file to QuickBooks Desktop. In this article, we will not only demonstrate the steps to switch your QuickBooks Mac file to QuickBooks Desktop or Windows, but will also talk about the benefits of doing so.
5 Benefits of Moving QuickBooks Mac Files to QuickBooks Desktop or Windows
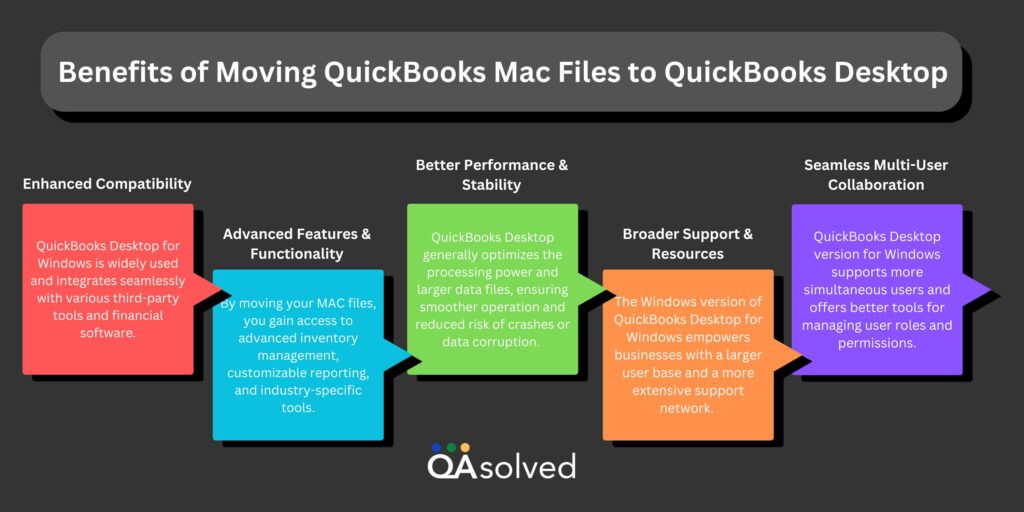
There are many users who often ask “Does QuickBooks work better with Windows or Mac?” Guess what? We are actually going to reveal that. Moving QuickBooks Mac files to QuickBooks Desktop offer several benefits that ultimately elevates the functionality, compatibility, and overall user experience. Here are the five key benefits of the same.
4 Easy Steps to Move Your QB Mac File to QB Desktop
Step 1: Backup Mac data to prevent any data loss during the transfer
Backing up your QuickBooks company file is an essential step to safeguard your financial data. Here’s how to do it manually:
- Start QuickBooks on your Mac
- Go to the File menu.
- Select Back Up.
- Select the folder where you want to store your backup.
- It’s recommended to choose an external drive or a cloud storage service for added security.
- Click Start Backup.
- QuickBooks will create the backup file in your chosen location.
Back up the Company File in Multi-User Mode
Follow these steps to back up your company file from QuickBooks Server, if you are using QuickBooks in multi-user mode:
- Go to the computer where the QuickBooks Server is installed.
- Launch the QuickBooks Server application.
- Within the QuickBooks Server, go to the Back-Up option.
- Follow the prompts to select the location and start the backup process.
Step 2: Update QuickBooks for Mac to the Latest Version
Follow the steps mentioned below to update QuickBooks Mac to always have the latest features and security improvements:
- Open QuickBooks and go to the QuickBooks menu (at the top left of your screen).
- Select Check for QuickBooks Updates.
- If an update is available, click Install Update.
- Then, select Install and Relaunch.
- QuickBooks will automatically close, install the update, and then reopen when the process is complete.
Step 3: Prepare your QuickBooks Mac Company File for the Switch
To make the switch as smooth as possible you have to make sure that your files are tidy and error-free, follow these steps to delete memos longer than 50 characters or those containing special characters like *&^%$#@!
Identify Problematic Memos
- Open QuickBooks and go to the Reports menu.
- Select Custom Transaction Detail Report.
- Click on Dates and select All Dates.
- Look through the report for memos that are too long or contain special characters.
- Edit the memo field, by removing special characters and ensuring it’s no longer than 50 characters.
- Click Save and close the transaction.
- Continue reviewing the report and editing each problematic memo as needed.
- Then, re-sort all the lists
- After cleaning up the memos, and restoring them go to the File menu.
- Select Utilities, then choose Verify Data to verify your data.
Step 4: Move Your Company File to QuickBooks Desktop
- Open QuickBooks Mac and login by entering the admin’s details.
- Once you’ve signed in, look for the File menu and click on Export.
- Then, click on To QuickBooks for Windows. (You might receive a message prompting you to Verify before backup, click on it.)
- This is where you name the file and also select the folder where you want to save it. Next, click on Save.
- Enter the password, and click OK. Then again click the OK.
- Move your company file from QuickBooks Mac to QuickBooks Windows with the help of online storage, USB flash drive, or email (this is applicable only if the file size is small).
- Then, export that file to QuickBooks Windows.
So, these are 4 easy steps that can help you to move your QuickBooks Mac File to QuickBooks Windows or Desktop. If you’re experiencing any trouble with the same, then our team of experienced support specialists is here to assist you with any matter that is linked with QuickBooks and all its products and services.
Conclusion
Switching your QuickBooks data from Mac to Windows can significantly improve your workflow and ensure seamless collaboration. By following the steps outlined in this article, you’ll be able to successfully transfer your company file and all essential data without any hassle.
Remember to back up your data, update your software, clean up your files, and carefully follow the export and import processes. Once after you completed these steps, you’ll be ready to use QuickBooks on your Windows computer, making your business operations more efficient and effective. If you encounter any issues while data transfer, don’t hesitate to seek assistance fir personalized assistance at +1-888-245-6075.
Frequently Asked Questions
Yes, QuickBooks Mac files can be converted to Windows, just follow the three simple straightforward processes mentioned below:
1. Update QuickBooks Mac
2. Prepare the QB Mac company file for transition
3. Move your company file to Windows
You can do that in four easy steps:
Step 1 – Download and Install QuickBooks on Windows
Step 2 – Copy the Backup File from Mac to Windows
Step 3 – Open QuickBooks on Windows
Step 4 – Restore the Backup File
1. Visit the official QuickBooks website.
2. Download the Windows version of QuickBooks.
3. Follow the installation instructions to set up QuickBooks on your Windows computer.
4. On your Mac, open QuickBooks and create a backup of your company file.
5. Transfer the backup file to your Windows computer using a USB drive, external hard drive, or cloud storage.
6. Launch QuickBooks on your Windows computer.
7. In QuickBooks, go to File > Open or Restore Company.
8. Select Restore a backup copy and click Next.
9. Follow the prompts to locate and restore your backup file.
