
In today’s collaborative accounting landscape, securely sharing financial data is more important than ever. Whether you’re working with an accountant, collaborating with a client, or troubleshooting with QuickBooks support, exchanging files is often a necessary part of the process. That’s where Intuit Customer File Exchange (CFE) comes into play. CFE is a secure, encrypted file transfer tool provided by Intuit that makes it easy and safe to share QuickBooks-related files.
Whether you’re submitting company data for review or sending logs to resolve a technical issue, CFE ensures your sensitive information remains protected throughout the transfer. It eliminates the risks associated with traditional file-sharing methods like email attachments or unsecured cloud drives. With features designed to support both speed and security, CFE streamlines the process, so you can focus on resolving issues or keeping your accounting tasks on track without worrying about data breaches.
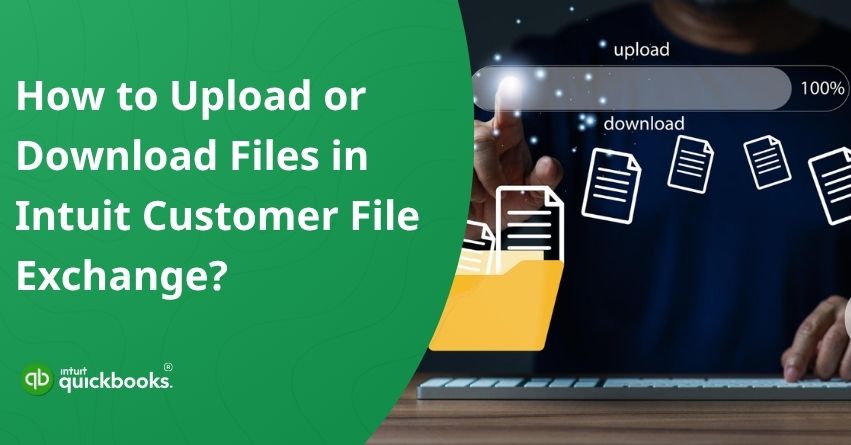
In this blog, we’ll walk you through how Intuit Customer File Exchange works, why it’s trusted by professionals, and the steps to upload and download files in Customer File Exchange. So, let’s get started.
How Does Inuit’s Customer File Exchange Work?
Intuit’s Customer File Exchange (CFE) works as a secure platform for sharing QuickBooks-related files between users and Intuit support. Typically, when you’re working with a support agent, they’ll send you a unique, time-sensitive link that opens a secure upload/download portal, no login required.
You simply click the link, follow the instructions to upload your QuickBooks company file, backup, or diagnostic logs, and the support team is notified instantly. All file transfers are encrypted, and links automatically expire after a few days for added security. It’s a fast, safe, and hassle-free way to share sensitive financial data when resolving QuickBooks issues.
Why is CFE Trusted by Accounting Professionals?
Accounting professionals deal with highly sensitive financial data every day, and when it comes to file sharing, security and reliability are non-negotiable. Intuit Customer File Exchange (CFE) is trusted by accountants, bookkeepers, and CPAs because it offers a secure, compliant, and efficient way to transmit QuickBooks files without risking data breaches or version mismatches.
Whether it’s resolving technical issues or collaborating remotely with clients, CFE ensures files are shared quickly and securely, with minimal hassle. Here’s why professionals rely on it:

1. Bank-Level Encryption
All files transferred via CFE are encrypted in transit, ensuring sensitive financial data stays protected from unauthorized access.
2. No Account Login Required
Users can access the file exchange portal through a unique, time-limited link, no need to enter QuickBooks credentials, reducing risk.
3. Temporary Access for Enhanced Security
Files are automatically deleted after a limited time (usually 7–14 days), ensuring that no sensitive data lingers online longer than necessary.
4. Quick and Easy to Use
The process is streamlined. All you need to do is upload or download files in just a few clicks, with clear instructions and no technical complexities.
5. Trusted by Intuit Support
CFE is the official tool used by Intuit’s support teams, which adds an extra layer of credibility and reliability for users.
6. Perfect for Remote Collaboration
Accountants working with clients across locations can exchange files securely without relying on email or unsecured drives.
7. Reduces Risk of File Corruption
Compared to email attachments or cloud syncing tools, CFE reduces the chances of file corruption or version mismatches during transfer.
These features make Intuit Customer File Exchange a go-to solution for accounting professionals who prioritize data security, speed, and compliance.
Steps to Upload or Download Files in the Intuit Customer File Exchange
Intuit support often requires securely sharing files to resolve product issues or verify accounts. Intuit Customer File Exchange (CFE) is a secure portal that lets you upload and download documents, reports, and other files you need from Intuit. Submitting logs, receiving fixed data files, or accessing important support materials is simple and safe. Here are the steps you’ll need to follow to efficiently upload or download files using the Intuit CFE platform.
To securely upload your file, you’ll need a Personal Identification Number (PIN), which you’ll receive via email from Intuit. This PIN expires after 48 hours and is time-sensitive. If you haven’t received the PIN yet, be sure to check your spam or junk folders for an email from Intuit. If you’re missing the PIN or encountering issues with it, reach out to our support team for immediate assistance at +1-888-245-6075.
A. Upload Files in Intuit Customer File Exchange
Intuit Customer File Exchange allows you to upload any type of file. If you’re sending a QuickBooks Desktop data file, be sure to create a backup before uploading. Here are the steps to upload your files:
- Open your browser and visit https://intuitb2b.my.salesforce-sites.com/FileExchange.
Note: If the “Sign In” button appears grayed out, it likely means you’re using an unsupported browser. Please try accessing the page with a different browser. - Enter your Case Number, Email Address, and PIN in the designated fields.
- Review and accept the Terms of Service, then click Sign In.
- Click the plus (+) icon and choose Upload.
- Either drag and drop your file into the upload area or click Browse your device to locate and select the file manually.
- Once the file is selected, click Upload to begin the transfer.
- After the upload is complete, click Close to exit the window.
So, these are the seven steps that can help you upload files in Intuit Customer File Exchange easily.
B. Download Files in Intuit Customer File Exchange
Note: Download your data files right away, as they will be deleted from the portal and server after 20 days.
- Log in to Intuit File Exchange.
- Fill in the Case number, email, and PIN fields.
- Click Sign In and accept the Terms of Service.
- Find your file.
- Then click the ellipsis icon to download.
- Select the location where you want to save your file.
- Hit Save.
Upload and Download Files from the Data Services
Here’s how to upload and download files from the data services:
- If you’ve sent your company file to Data Services, do not enter any new data into the file on your computer. Any changes made locally will need to be manually re-entered into the repaired file once it’s returned to you.
- If provided, download the “Readme.docx” file—it contains important details you’ll need to access and work with your fixed company file. Make sure to save both the Readme file and the repaired company file in a secure location of your choice.
- If you’re using a network or server setup, first restore the repaired file to your local computer before moving it back to the network or server host location.
- Your data file may come with a .qbm extension, which means it’s a compressed backup of your original file. If required, you can convert or restore the .qbm file to access your company data.
To conclude, the Intuit Customer File Exchange ensures that your data reaches the right place securely and efficiently.Make sure your file names are correct, that your browser requirements are followed, and that you save important documents as soon as possible. Following these steps can automate your file transfers and prevent common issues.
Summary
In the world of accounting, where accuracy, security, and efficiency are non-negotiable, the Intuit Customer File Exchange (CFE) stands out as a trusted solution for sharing sensitive QuickBooks files. Whether you’re collaborating with clients, resolving technical issues, or working with Intuit’s support team, CFE streamlines the process of uploading and downloading data while keeping it encrypted and protected.
By following the step-by-step instructions outlined above, you can ensure a smooth file-sharing experience without the risks commonly associated with traditional methods. From secure uploads to timely downloads, and even data restoration via Intuit’s Data Services, every step is designed with your data’s safety in mind. Use CFE confidently, knowing that your financial files are handled with the care and security they deserve.
Frequently Asked Questions
The file formats you can use to import customer data into QuickBooks include CSV (.csv), Excel (.xls, .xlsx), and IIF (.iif). The most commonly used and easiest to work with formats are CSV and Excel. Additionally, QuickBooks Online supports Google Sheets. It is important to ensure that your data is formatted correctly so that an import process will run smoothly and customer records will be accurate.
1. Create an Excel or CSV file with your customer data.
2. Log in to QuickBooks Online.
3. Go to Sales > Customers.
4. Choose Import customers from the dropdown next to New Customer.
5. Select your file, upload it, and then click Next.
6. Then, match the file columns with QuickBooks fields and click Next.
7. Click Import after reviewing your data.
Customer files should include key details such as the customer’s full name, company name (if applicable), billing and shipping addresses, email address, phone number, payment terms, preferred payment method, and tax information (such as VAT or GST number if relevant). Invoicing, communication, and record-keeping in QuickBooks are made more accurate by including this data.
You can import the following four types of lists into QuickBooks Online:
1. Customers – This includes names, contact information, and billing information.
2. Vendors – Details about the vendor’s business, contact information, and payment terms.
3. Products and Services – Contains item names, descriptions, prices, and tax information.
4. Chart of Accounts – Provides the names, types, numbers, and descriptions of the accounts.
Setup or updating QuickBooks data is made easy with these imports.
