
Payroll is one of the most crucial aspects for businesses to ensure effortless operations with ultimate precision. For the longest period, there was no dedicated software to manage payroll operations, but then Intuit transformed the entire industry by introducing QuickBooks. Launched in 1992, QuickBooks quickly grabbed the attention of industry leaders as its advanced features like payroll management, tax compliance, and others helped it to arrive with a bang. Today, QuickBooks caters to various industries, offering several products and services. QuickBooks Payroll is one of them. QuickBooks Payroll allows businesses to pay employees and contractors accurately and on time. It supports various payment methods. However, like any other software, QuickBooks can face technical errors that restrict users from operating it properly. One such technical hurdle is QuickBooks Error 9000.

QuickBooks error 9000 is a payroll-related error that occurs when QuickBooks fails to connect to Intuit’s server while sending payroll data or direct deposit transactions. Error 9000 in QuickBooks emerges when users try to send payroll data or deposit salaries to the employees’ accounts using QB’s direct deposit tool. If you’re also facing the same, then we are here to assist you in the best possible manner.
In this article, we are going to shed some light on the possible symptoms and primary factors that trigger QuickBooks error 9000. Further, we will also provide detailed solutions and steps to troubleshoot error 9000 in QuickBooks once and for all. So, shall we begin?
6 Early Signs to Detect QuickBooks Error Code 9000
QuickBooks Error Code 9000 can disrupt payroll processing and financial transactions. Identifying the issue early can help prevent delays and data inconsistencies. Here are the seven early signs:
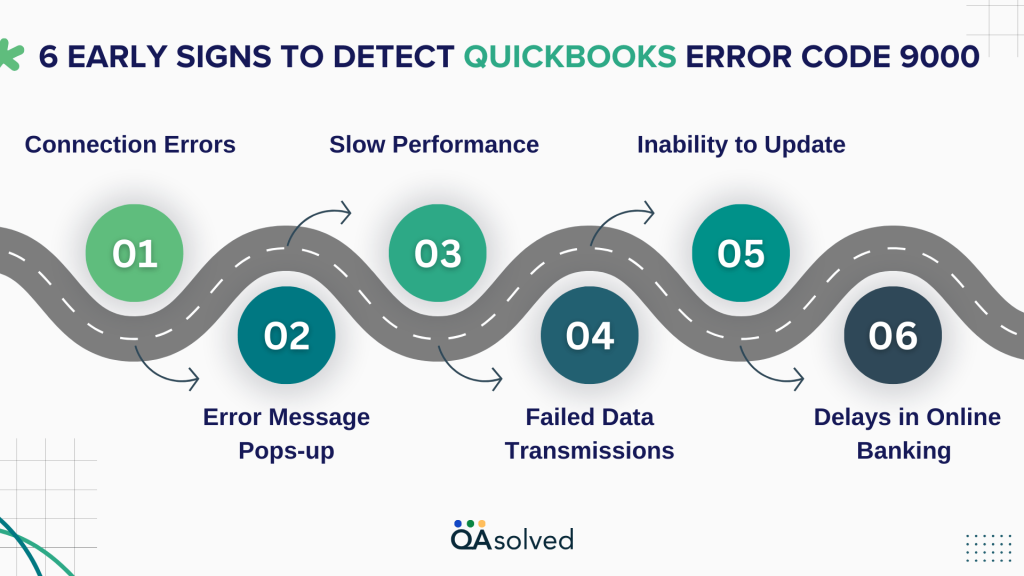
1. Delays in Online Banking
When using QuickBooks for online banking, you might encounter slow processing or errors while downloading bank transactions or reconciling accounts, affecting the accuracy and timeliness of financial records.
2. Error Message Pops-up
When you face error 9000 in QuickBooks, this error message appears on the screen “Error 9000 QuickBooks Error 9000: QuickBooks has encountered a problem and needs to close. We are sorry for the inconvenience.
3. Slow Performance
Slow Performance is one of the most common yet indirect signs of this error. In this case, you might notice that QuickBooks runs more slowly than its usual speed when using online features or carrying out other tasks.
4. Failed Data Transmissions
Failed Data Transmissions is another indirect sign. When sending data to the Intuit server, such as payroll information or updates, you may encounter frequent failures or interruptions, preventing successful data transfer and causing delays in processing essential transactions.
5. Inability to Update
If you’re facing trouble while updating QuickBooks, then you’re probably hit by error 9000. Here, QuickBooks may struggle to download and install updates, including software patches and payroll updates, due to server communication issues, leading to potential disruptions.
6. Connection Errors
The next sign that can surely help you address and troubleshoot QuickBooks error 9000. In this case, you may see multiple messages and pop-ups implying that QuickBooks cannot establish a connection with the server.
So, these are some of the most common signs to detect QuickBooks error 9000.
5 Primary Reasons that Trigger QuickBooks Error 9000
QuickBooks Error 9000 can disrupt payroll processing and other online functions, affecting business operations. Understanding the underlying factors behind this error can help users diagnose the issue effectively and take appropriate corrective measures. Here are the key triggers of this error!
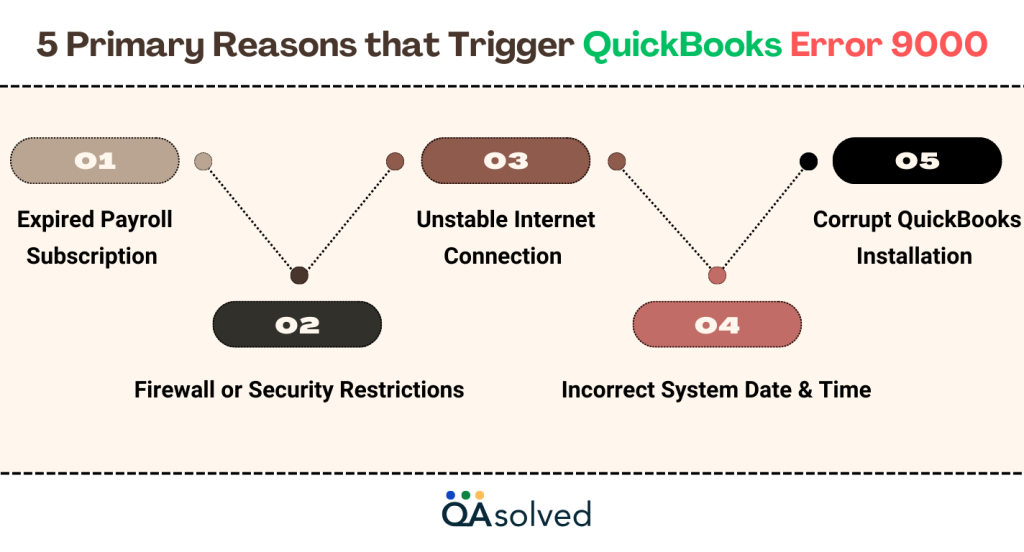
1. Expired Payroll Subscription
If your QuickBooks Payroll subscription is inactive, expired, or not properly registered, the software will be unable to process payroll or send data to the Intuit server, resulting in Error 9000. Verifying the subscription status can help resolve the issue.
2. Firewall or Security Restrictions
Certain antivirus programs, firewalls, or network security settings may mistakenly block QuickBooks from establishing a secure connection with Intuit’s server. This restriction can prevent payroll data transmission and cause recurring connection failures.
3. Unstable Internet Connection
If your internet connection is slow, intermittent, or frequently disconnects, QuickBooks may fail to transmit payroll data or other critical information to the Intuit server, leading to error 9000.
4. Incorrect System Date & Time
If the system’s date and time settings are incorrect, QuickBooks may struggle to establish a secure connection with Intuit’s server. A mismatch in time settings can create authentication issues, leading to disruptions in payroll processing.
5. Corrupt QuickBooks Installation
If QuickBooks files become damaged or missing due to incomplete installation, system crashes, or malware attacks, it can lead to various errors, including Error 9000. Reinstalling or repairing QuickBooks may be necessary to fix the issue.
These are the five common reasons that can significantly disrupt the overall workflow. Now, let’s explore the best solutions to troubleshoot QuickBooks error code 9000.
8 Effective Solutions and Steps to Troubleshoot QuickBooks Error 9000
There are several solutions that can help users remove error 9000 in QuickBooks. Follow the given below solutions and steps to eliminate QB error 9000.
Solution 1: Fix the SSL Setting
The very first and most common solution that can help you get rid of QuickBooks error 9000 is ‘fixing the SSL setting.’ Here are the steps for the same:
- If your internet browser is not set as the default, update the settings to make it your default browser.
- Navigate to Tool Options and select Internet Options.
- Open the Connection tab and go to LAN Settings.
- Ensure that Automatic Detection Settings is enabled and leave the proxy server field empty.
- Verify that SSL 2.0 and SSL 3.0 are checked.
- Keep TLS 1.2 unchecked.
Solution 2: Check Internet Connection in QuickBooks Desktop
Another solution that helps users remove such type of errors is to check the Internet settings and connection in QuickBooks Desktop.
- Open QuickBooks and navigate to the Help menu.
- Select Internet Connection Settings.
- Choose the option: “Use my computer’s internet connection settings to establish a connection when this application accesses the internet.”
- Click Next, then go to Advanced Connection Settings → LAN Settings.
- Enable Automatically Detect Settings.
- Leave the Proxy Server checkbox unchecked.
- Click OK, then press Done.
- Finally, resend the payroll.
Solution 3: Run Disk Cleanup Tool
In order to remove junk and temporary memory files and remove QuickBooks error 9000, one can also try running Disk Cleanup Tool. Follow the given below steps:
- Press Windows key + R on your keyboard.
- In the Run dialog box, type “cleanmgr” and press Enter.
- The Disk Cleanup utility will open.
- Select the C: drive from the drop-down menu and click OK.
- A new Disk Cleanup window will appear.
- Click OK to remove junk and temporary files from your system.
Solution 4: Perform System Restore
In case none of the above-mentioned solutions works, you can always restore your system to a previous point when QuickBooks was not facing any payroll related issues. Here are the steps to restore your system settings:
- Press the Start button on your keyboard.
- Open the Control Panel from the Start menu.
- In the search box at the top right, type System Restore.
- Click System Restore and enter the administrator password if prompted.
- Choose a previously created Restore Point and click Next.
- Follow the on-screen instructions to complete the restoration process.
Solution 5: Change the Firewall Settings
Another method that can effectively assist you in eliminating QuickBooks error code 9000 is changing the firewall settings. Here are the 7 easy steps to do so:
- Open Windows Firewall and go to Advanced Settings.
- Right-click on Inbound Rules and select New Rule.
- In the new window, choose QuickBooks and click Next.
- Select This Program Path, then browse to check if qbw32.exe and qbupdate.exe have access.
- If access is not granted, enable it.
- Click Allow the Connection, then select Next.
- Assign a name to the rule and click Finish to complete the setup.
Solution 6: Check and Correct the Date and Time Settings
Incorrect data and time settings is one of the major reasons that trigger this error. Follow these easy steps to fix it and eliminate error 9000 in QuickBooks effectively.
- On the Windows taskbar, click on the time and date display tab.
- Double-click to open the time, date, and year settings.
- Check if the settings are incorrect, then adjust them accordingly and click OK.
- Restart your system after making the changes.
- Try sending payroll again in QuickBooks to check if the error persists.
Solution 7: Flush the DNS (Domain Name System)
Flushing the Domain Name System Cache is yet another effective solution that can help you troubleshoot QuickBooks error 9000. Here are the steps:
- Go to the Start menu > All Programs > Accessories.
- Select Run, or alternatively, press Windows key + R to open the Run dialog box.
- In the Run window, type cmd and press Enter to open the Command Prompt.
- In the Command Prompt, type ipconfig /flushdns and press Enter.
- Wait for the process to complete, then try accessing QuickBooks and submitting payroll again.
Solution 8: Use Other Tool Hub Utilities
The firewall configuration steps guide you on loading and installing QuickBooks Tool Hub. If running the File Doctor Tool doesn’t resolve QuickBooks error 9000, try using other utilities within the tool. These include Quick Fix My Program for program-related issues, QuickBooks Install Diagnostic Tool for installation problems, and QuickBooks Network Diagnostic Tool for network-related errors.
So, these are the eight most effective solutions and their steps to Troubleshoot QuickBooks error 9000. By following these solutions, you can ensure seamless payroll activities without facing any technical hurdle.
Conclusion
In a nutshell, QuickBooks Error 9000 can disrupt payroll processing and other essential functions, but with the right approach, it can be resolved efficiently. By identifying the symptoms early, understanding the causes, and applying the appropriate troubleshooting steps, you can restore QuickBooks to optimal performance. Whether it’s adjusting internet settings, clearing DNS cache, or utilizing QuickBooks tools like File Doctor and Network Diagnostic Tool, each step plays a crucial role in resolving the issue.
If the error persists despite following these solutions, consider reaching out to our QuickBooks payroll support experts for immediate assistance.
Frequently Asked Questions
QuickBooks Error Code 9000 is a connectivity-related issue that often occurs when sending payroll data or direct deposits. It usually signifies a network timeout, preventing QuickBooks from establishing a connection with the server.
Yes, this error often appears when sending payroll data or direct deposits, preventing QuickBooks from connecting to Intuit’s servers.
QuickBooks Error 9000 is typically caused by network connectivity issues, incorrect date and time settings, firewall restrictions, or problems with internet settings that prevent QuickBooks from communicating with the server.
You can troubleshoot the error by:
1. Checking and correcting date and time settings.
2. Flushing the DNS cache using ipconfig /flushdns.
3. Configuring Windows Firewall to allow QuickBooks connections.
4. Running the QuickBooks File Doctor Tool and Network Diagnostic Tool.
