
Have you ever wished you could play around with your QuickBooks Online Advanced company without the fear of breaking anything? Well, now you can. By allowing you to copy QuickBooks Online Advanced company data, the platform gives you a duplicate version of your company where you can experiment freely. Whether you want to test new workflows, explore reporting features, or train your team, this feature lets you do it all without any risk to your live data. Think of it as a safe playground for your business finances, where you can try, learn, and optimize with confidence.
Copying your QuickBooks Online Advanced company basically means you get a mirror of all your data, including transactions, lists, reports, and settings. This makes it easy to experiment, troubleshoot issues, or even run scenario-based reports without the stress of altering your actual company data. It’s especially useful for accountants, bookkeepers, and business owners who want the freedom to learn, test, and improve processes while keeping their core finances completely safe.
The best part is that QuickBooks Online Advanced makes the process simple and user-friendly. There’s no need for complicated downloads, imports, or technical setups, everything happens right inside the platform. That means less time spent fiddling with backups and more time focused on understanding your numbers and making smarter business decisions.
Whether it’s for testing, training, or peace of mind, this feature is a real lifesaver for anyone serious about keeping their accounting clean and stress-free. If you’re also looking forward to making a copy of your QuickBooks Online Advanced company, then you have indeed landed on the right page. So, let’s begin with it.
How to Make a Copy of Your QuickBooks Online Advanced Company?
Creating a copy of your QuickBooks Online Advanced company is a simple way to start a new company while keeping all your important data intact. You can even choose the exact date and time from which you want to copy the information.
For clarity, we’ll call your current company with all the data “Company A” and the new company where the data will go “Company B.” You can name them whatever you like. Company A must have a QuickBooks Online Advanced account, while Company B can be either QuickBooks Online Plus or Advanced.
Both companies’ primary admins need to perform this process. If your goal is just to save your accounting data, you can also review what information can and cannot be backed up before starting. Now, let’s discuss the steps to successfully make a copy of QuickBooks Online Advanced company data.
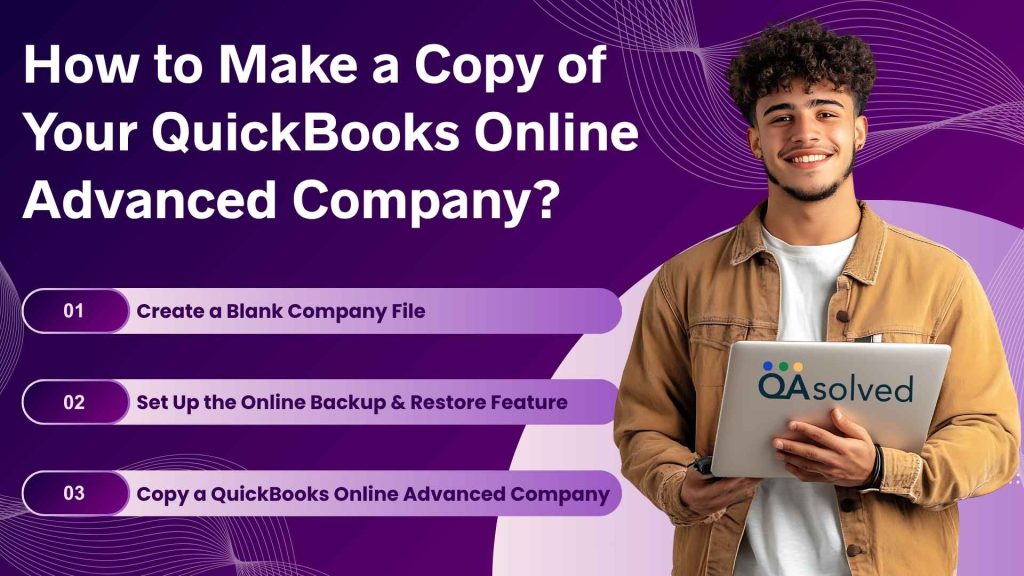
Step 1: Create a Blank Company File
The first step is to simply create a new and blank company file. For instance, create a copy of Company A, and name it as Company B. Now, replace it with Company A’s information and make sure to keep a check on the following things:
- Company B must be a blank QuickBooks Online Advanced account with no existing data.
- Make sure Company B has a unique name so it’s easy to distinguish from your other companies.
- Once the process is complete, remember to sign out of your account.
Note: Company A and Company B need to have the same list setup. If they don’t match, you may run into errors while copying data. For instance:
- The chart of accounts in both companies must contain the same number of accounts with identical names.
- If you’re using Sales Tax, the Sales Tax Agencies in both companies should have the exact same names.
Step 2: Set Up the Online Backup & Restore Feature
Once you’ve created a blank company file, the next step is to set up the backup and restore feature for further actions. Here are the steps for the same:
- In Company A, turn on the Online Backup & Restore app for your data.
- In Company B, make sure to turn off the backup feature.
- Disable all automation settings in both Company A and Company B:
- Go to Settings and open Account and Settings.
- From there, choose Advanced and then select Automation.
- In the Automation section, switch off each option and click Save.
Step 3: Copy a QuickBooks Online Advanced Company
After successfully executing the first two steps, you also need to copy the data from Company A to Company B. Follow the steps carefully.
- Sign in to QuickBooks Online with Company A.
- Open Settings and choose Back up company.
- Go to the Copy tab and click Create Copy. Confirm that the source company is set to Company A.
- In the Copy To dropdown, check that Company B appears in the list. If it doesn’t:
- Select Add company.
- Now, click on the Select a Company dropdown.
- Then, choose the company that isn’t yet listed in your Copy To options.
- Finally, click on Continue and proceed.
Tip: Verify that Company B appears in the Add company list under the Copy To dropdown.
- Now, choose the date and time for the backup you’d like to copy.
- Finally, click on Continue to proceed.
Now, let’s take a look at how to copy QuickBooks Online Advanced company from an existing backup, backup restore copy precheck and fix copy & restore issues effortlessly.
A. Copy a QuickBooks Online Advanced Company from an Existing Backup
Easily copy your QuickBooks Online Advanced company using an existing backup. This lets you restore data quickly and set up a new company without starting from scratch. Here are the steps:
- Open Settings and choose Back up company.
- Go to the Backups tab.
- Find the backup date you want to use, then open the View dropdown.
- Select Copy.
- From the Copy To options, choose your target company.
- Click Continue to move ahead.
B. Backup Restore Copy Precheck
Once you complete the steps to copy the company, you’ll be taken to the Backup Restore Copy Precheck page. From there, follow these steps:
- On the Pre-Copy Configuration Check tab, click Next. If you don’t see this option, review the message shown and choose Take me there to resolve the issue.
- In the Pre-Copy Confirmation step, check the box provided and then select Next.
- On the All Set tab, click Start Copy to begin the process.
The time required to complete the process may vary, as it depends entirely on the amount of data you have.
Fix Copy and Restore Issues
When migrating your company from QuickBooks Desktop to QuickBooks Online Advanced, some data may not transfer in a readable format. This also means that the Online Backup and Restore feature will not capture that data.
Note: You might notice new journal entries on your balance sheet. When the tool cannot interpret certain data, it may generate journal entries to ensure your accounts remain balanced. This can occur in situations such as:
- Change an item’s expense account without updating open or existing transactions.
- Use account-based lines marked as billable on bills or expenses for sales forms such as invoices or sales receipts.
- Use item-based lines marked as billable and apply a markup to bills or expenses for sales forms.
- Import transactions from QuickBooks Desktop using custom Accounts Payable or Accounts Receivable accounts.
- Migrate data from QuickBooks Desktop that QuickBooks Online Advanced cannot interpret.
Tip: If an error occurs during the backup, you can reach out to the Support team by clicking the Help (?) icon. Go to the Search tab, then select Contact Us to proceed. The support team will assist you in resolving the error and ensuring your data is successfully copied into QuickBooks.
So, now you know how to copy your QuickBooks Online Advanced company safely, ensuring your data is backed up and ready for testing, training, or starting a new company.
What Data You Can and Can’t Backup in QuickBooks Online Advanced?
QuickBooks Online Advanced lets you backup essential business and financial data. However, it’s not meant for personal files or unrelated documents, ensuring the system stays secure and focused on managing your business finances. Let’s discuss what data you can and can’t back up.
Transactions, Lists, and Other Data Eligible for Back Up
Here’s a list of transaction data, list data, and other form of data that you can easily back up.
| Transaction Data | List Data | Other Data |
| Invoices | Accounts | Attachments |
| Estimates | Budgets | Company Info |
| Sales | Classes | Entitlements |
| Receipts | Currencies | Exchange Rates |
| Payments | Customers | Preferences |
| Deposits | Departments | Intuit Payroll Info as Journal Entries |
| Bills and Bill Payments | Employees (Except their SSN) | Inventory Shrinkage and Adjustments as Journal Entries |
| Credit Memos | Items | |
| Vendor Credits | Payment Methods | |
| Journal Entries | Tax Agencies | |
| Purchases and Purchase Orders | Tax Codes and Tax Rates | |
| Refund Receipts | Terms | |
| Time Activities | Vendors (Except the Tax Fields) | |
| Transfers |
A List of Data Items that aren’t Eligible for Back Up
Here are the data items that you can’t back up:
- QuickBooks Payments for Online Info
- Customer Types and Price Rules
- Delayed Credits and Charges (Although associated invoices are backed up)
- Recurring Transactions
- Bank Feeds and their Links to Transactions and Bank Rules
- Reconciliation Reports
- Account-based Billable Expenses
- Item-based Billable Expenses with Markup
- Custom Reports
- Custom Form Templates
- Audit Log Entries
- Reconciliation Reports do not Move/Back up
- Reconciled Transactions do not Remain Reconciled
Now, let’s review the types of data that cannot be restored.
Data That Cannot Be Restored
While restoring a backup in QuickBooks Online Advanced, most of your information can be recovered. However, certain data types cannot be restored and require special handling:
- Budgets – These need to be exported and saved separately as a CSV file.
- Inventory – Only basic inventory details are restored. Historical data and adjustments are not included.
- Tax Rates Linked to Expense Accounts – During restoration, these are reassigned to liability accounts.
- Personal Cloud Archive Backups – Data saved through the personal cloud archive feature (in .cab format on services like Google Drive) cannot currently be restored.
In summary, while the backup and restore QuickBooks Online Advanced company feature helps protect most of your critical business data, some items like budgets, inventory history, certain tax rates, and personal cloud archive files cannot be restored. Knowing these limitations ensures you plan ahead and save this information separately to maintain complete records.
How to Turn On and Turn Off Backup?
This section explains the simple steps to enable or disable the backup feature in QuickBooks Online Advanced, giving you control over when your company data is automatically saved or paused based on your business needs. Here are the steps:
4 Steps to Turn On Backup
- Open the Settings menu and go to Account and Settings.
- Navigate to the Advanced tab, then choose Backup.
- Click Edit and toggle the option to Turn on backups.
- Select Save to apply the changes.
5 Steps to Turn Off Backup
- Open the Settings menu and choose Account and Settings.
- Go to the Advanced tab, then select Backup.
- Click Edit and switch off the Turn on backups option.
- Complete the consent form, then choose Turn off Backup.
- Click Save to confirm your changes.
Note: You can also enable or disable backups by going to the Settings menu, selecting Back up company, and then choosing Change backup settings.
Now, let’s also highlight the steps to create a one-time backup manually, save your backups to Google Drive.
How to Create a One-Time Backup Manually?
Here’s a quick guide on how to create a one-time backup in QuickBooks Online Advanced so you can save your important data whenever you need.
- Navigate to the Settings.
- Then, click on Back up Company.
- Now, select Run Manual Backup.
- Finally, select the Full radio button and click on Back up.
How to Save Your Backups to Google Drive?
You can store your backups on Google Drive and export them as needed. To do this, you’ll first need to connect your Google account. Here’s how.
Steps to Connect Your Google Drive Account
- Navigate to the Settings and then click on Accounts and Settings.
- Then, select Advanced and click on Personal Cloud Backup.
- Now, click on Link Google Drive.
- Finally, Enter the email address for the account where you want to save your backup, and then check the box to give permission for creating files in your Google Drive.
Steps to Export Your Backup
- Open the Settings menu and choose Back up company.
- Select Personal cloud archive.
- Click Export Backup and choose the Google Drive option.
- Click Export Backup to start the process.
Note: It may take 10 minutes or longer for the file to appear in Google Drive. During this time, you won’t be able to use Online Backup and Restore to access data stored in the Personal Cloud Archive.
How to Restore Data from the Restore and Backup Tab?
Let’s walk through how you can quickly restore your company data using the Restore and Backup tab in QuickBooks Online Advanced.
Steps to Restore Your Data from the Restore Tab
You can easily make the best use of the restore tab to reinstate your data from a specific time and date. Also, avoid using your company data while the Online Backup and Restore app is running. Once the restoration is complete, a checkmark will appear, indicating that your data is ready to use again.
Here are the steps:
- Open the Settings menu and choose Back up company.
- Click Restore, then select Create Restore.
- In the Date field, pick the date you want to restore.
- From the Time dropdown, choose or enter the specific time for the restore.
- Click Next, then carefully read and follow the provided instructions.
- Check the box to confirm I understand that restoring overwrites all data in my company back to the specified date.
- Click Start Restore to begin the process.
Tip: Restoring a backup can take up to an hour, though it’s often quicker. Smaller companies with less data will restore faster.
Steps to Restore Your Data from the Backups Tab
Want to restore a specific backup without fiddling with the date and time? The Backups tab makes it super easy. Here’s how you can do it.
- Open the Settings menu and choose Back up company.
- Click on Backups.
- From the backup list next to the View column, select the backup you want to restore.
- Click Restore.
Note: You cannot modify the date or time for the restore from this option. - Click Next, then carefully read and follow the instructions provided.
- Check the box to confirm I understand that restoring overwrites all data in my company back to the specified date.
- Click Start Restore to begin the process.
Things to Understand While Using the Online Backup and Restore App
Here are the three prominent aspects that you need to take care of when using the Online Backup and Restore app:
- All backup snapshots from the past year are saved and accessible.
- Backups older than one year cannot be retrieved.
- You can restore your company data to any point within the previous calendar year.
Conclusion
In a nutshell, creating a duplicate environment to copy QuickBooks Online Advanced company data gives you the freedom to test, train, and explore without any risk to your live records. By understanding what data can and cannot be restored, how to create manual backups, and how to use the Restore and Backups tab effectively, you can ensure your financial records remain secure and up to date. Whether you rely on automatic backups or create one-time manual backups, following these steps helps you manage your company data confidently and without interruptions.
Frequently Asked Questions
Yes, QuickBooks Online Advanced allows you to duplicate your company by copying its data. This creates a separate version of your company where you can safely test workflows, explore features, or train your team without affecting your live records.
No, QuickBooks Online does not allow merging two separate companies into one. Each company file remains independent, so if you need combined data, you will have to export and manually consolidate information outside of QuickBooks.
Yes, QuickBooks Desktop allows you to create and manage multiple company files. Each file is stored separately, letting you keep financial data for different businesses or entities organized and distinct within the same QuickBooks installation.
Yes, you can have multiple versions (different years) and editions (Pro, Premier, Enterprise) of QuickBooks installed on the same computer. Each version or edition must be installed separately, following specific steps to ensure they work correctly without conflicts. If you ever need to reinstall QuickBooks or move it to another computer, you can use the QuickBooks migrator tool to safely transfer your data and maintain access to all installed versions.
No, QuickBooks Online Advanced is a specialized version of QuickBooks Online designed for growing businesses that need more advanced features. While it shares the same cloud-based platform as QuickBooks Online, QuickBooks Advanced offers enhanced reporting, automation, user permissions, and customization options that aren’t available in the standard QuickBooks Online plans.
