Updated
8 min read


Quicken Cloud syncs your financial data across devices, ensuring seamless access wherever you are. In some cases, you may need to reset or delete your Quicken Cloud data to fix syncing issues, remove outdated information, or start over. Resetting or deleting data in Quicken Cloud is more complicated than resetting or deleting data in Quicken Desktop. It’s crucial to follow the right steps carefully to avoid losing important financial records if done incorrectly.
In this blog, we’ll walk you through the exact process of resetting and deleting Quicken Cloud data, key features of Quicken, and provide troubleshooting tips to ensure a smooth experience. You can regain control of your Quicken data by following the steps mentioned in this blog, if you’re experiencing duplicate transactions, incorrect balances, or other cloud-syncing problems. Let’s begin!
Quicken Cloud syncs financial data from Quicken desktop and mobile applications. It gives you access to your transactions, account balances, and budgets from anywhere. In contrast, Quicken Cloud does not back up desktop data; instead, it synchronizes information between devices.
Quicken Cloud syncs data across devices and enables you to access your financial information from anywhere, anytime. In a nutshell, it offers the following features:
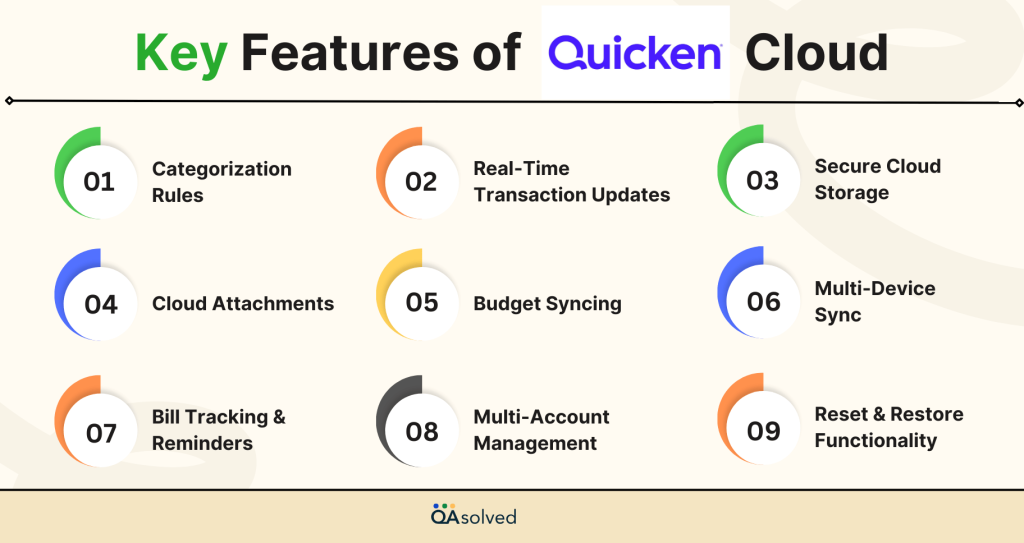
The Quicken Cloud lets you manage your finances efficiently from anywhere, so you’re always in control.
Also Read:- How to Fix Quicken Won’t Download or Update Bank Transactions?
Quicken Cloud is mainly a syncing tool, so you cannot directly manage or delete individual records. Any data issues must instead be resolved by resetting the data through Quicken’s desktop application.
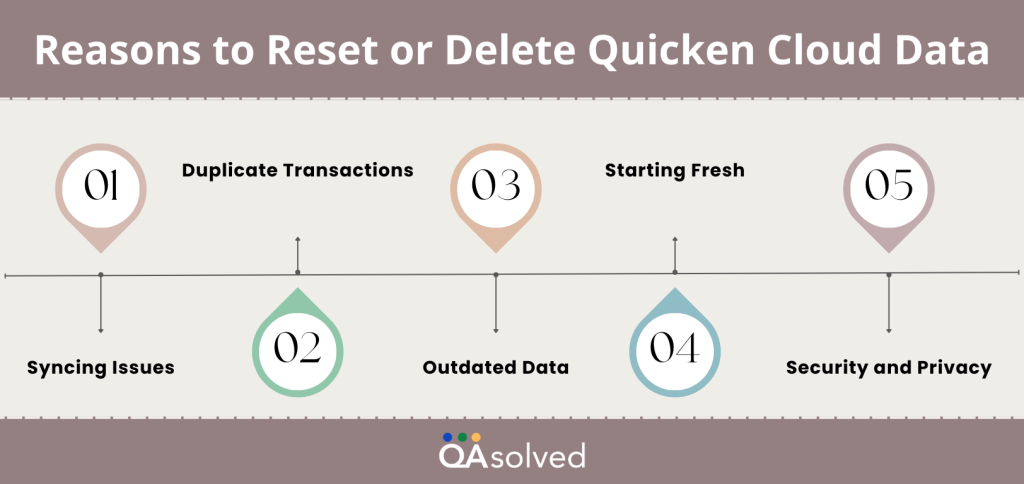
Several reasons may require you to reset or remove Quicken Cloud data:
Want to Reset or Delete Quicken Cloud Data?
Follow our Solutions or Get in touch with our Quicken Experts!
The Quicken Cloud data reset allows you to start fresh without losing your local Quicken desktop data by clearing out all existing synced data.
The data in your Quicken Cloud may need to be reset once you have set up Quicken on your desktop.
Cloud data resets remove existing cloud data associated with your current file and immediately syncs it again for the same period. Regardless, your cloud data is not permanently erased. The following information is deleted and then restored on the Quicken Cloud:
When you delete Quicken Cloud data, all records are permanently removed, unlike resetting, which clears data while maintaining your cloud account.
Note: The currently open dataset cannot be deleted.
Here are some solutions for problems you may encounter when resetting or deleting Quicken Cloud data:
Resetting or deleting your Quicken Cloud data can be helpful when troubleshooting sync issues, starting fresh, or aligning your financial data across devices. Resetting cloud data removes existing synced information, but it doesn’t permanently delete it, since the data is immediately restored from your current file. Therefore, you can reset without having to worry about losing your financial history, accounts, transactions, or preferences.
Financial data can be synced across devices with Quicken Cloud, but sometimes issues arise that require resetting or deleting cloud data. Whether you’re troubleshooting sync problems, removing duplicates, or starting from scratch, following the correct steps ensures success. If there are any discrepancies in your desktop data, ensure that it is accurate before syncing again.
Our Quicken experts are here to assist you if you experience persistent issues or need additional assistance with Quicken Cloud data.
1. Create a backup before making any changes.
2. Go to File > New Quicken File to start fresh.
3. Open the account, select transactions, and delete them manually.
4. Navigate to File > Year-End Copy to archive old transactions while keeping recent ones.
5. Go to Edit > Preferences > Quicken ID & Cloud Accounts, then delete old datasets.
6. For a complete reset, uninstall Quicken and start with a new installation.
The old Quicken backup files can be deleted if no longer needed, but the recent backups should be kept for security reasons.
Manage backups regularly to keep storage free and ensure you have a recovery option in case of disaster.
Verify that you have saved the latest working backup before deleting.
Quicken data is primarily stored on your computer, but some data syncs online for access across devices if you use Quicken Cloud.
It is important to note that Quicken Cloud does not provide a full backup – it only syncs selected data.
Maintain regular backups on an external drive or in the cloud to ensure complete security.
1. Open Quicken and go to the Edit menu.
2. Select Preferences from the dropdown.
3. In the left pane, choose Quicken ID & Cloud Accounts.
4. Adjust the desired settings in the right pane.
5. To update your Quicken profile, click Update Profile to modify details like your name.
6. Click OK to save the changes.
Archiving old Quicken data is a good practice to keep your financial records organized while improving software performance.
You can archive past transactions with the Year-End Copy feature while keeping recent data accessible.
As a result, you can keep your financial history clutter-free without permanently deleting it.
About the author
Have a QuickBooks® question? Our ProAdvisors can help. QAsolved is not affiliated with Intuit.