

Workers’ Compensation is an essential part of running a compliant and responsible business, and setting it up correctly in your accounting software can save time and reduce errors. QuickBooks, a widely used accounting and payroll management solution, offers a dedicated Workers Comp setup feature that helps you streamline premium management, track claims, and stay compliant with state regulations. This ensures that employees are covered in case of work-related injuries or illnesses, while also protecting your business from unnecessary legal and financial risks.
QuickBooks integrates workers’ compensation directly into its payroll features, making it easier to calculate premiums automatically based on employee wages and job classifications. This reduces the need for manual calculations, lowers the risk of errors, and keeps you aligned with insurance requirements. You can also generate detailed reports to review premium costs, monitor claims, and prepare for audits with confidence.
Whether you manage a small business or a large team, setting this up properly will help you maintain compliance, support your employees’ well-being, and create a more efficient payroll process from start to finish. So, let’s dive into the QuickBooks workers comp setup process and see how you can configure it step-by-step to ensure accurate payroll, seamless premium tracking, and full compliance with state requirements.
Top 8 Benefits of Setting Up Workers’ Compensation in QuickBooks
Setting up Workers’ Compensation in QuickBooks brings a range of valuable benefits that serve both employers and employees, making it an important part of your payroll and compliance process. Here are some of the major advantages that captivate businesses and HR teams to set up Workers’ Compensation in QuickBooks and make it an integral part of their payroll process.
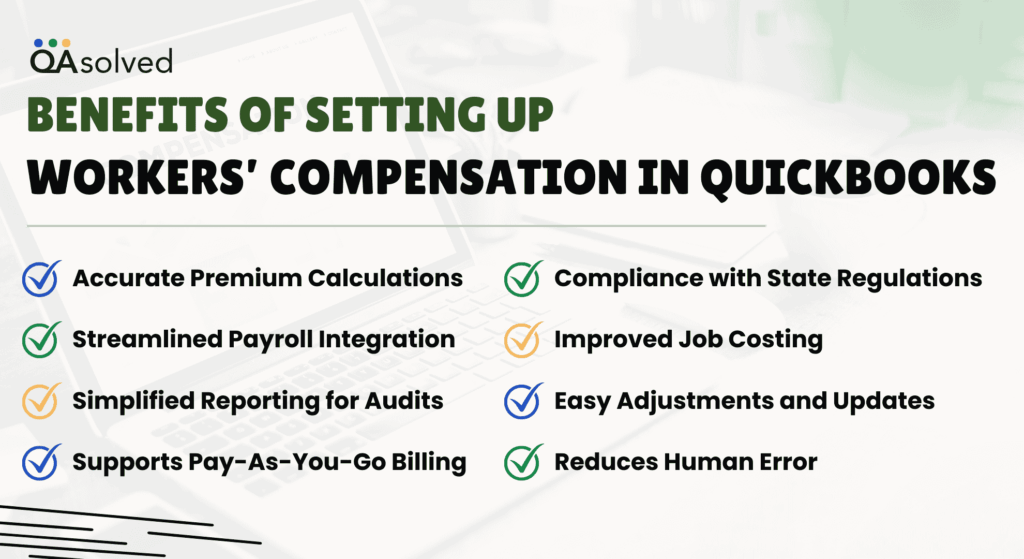
1. Accurate Premium Calculations
Each employee or job type can be assigned Workers’ Compensation codes in QuickBooks. It reduces the risk of overpaying or underpaying your insurance provider by calculating premiums based on actual hours worked.
2. Streamlined Payroll Integration
The Workers’ Compensation system integrates seamlessly with payroll when set up correctly. Every payroll run calculates premiums automatically, eliminating manual calculations and reducing the chance of errors.
3. Simplified Reporting for Audits
Worker’s Compensation reports generated by QuickBooks provide detailed documentation during insurance audits.The reports show wage breakdowns by class code, hours worked, and premiums paid, saving time and reducing audit stress.
4. Compliance with State Regulations
QuickBooks helps you comply with state labor laws and insurance requirements by accurately tracking Workers’ Comp. By doing this, you will be able to avoid legal penalties and ensure the safety of your employees.
5. Improved Job Costing
A Workers’ Compensation code will provide you with a more accurate labor cost tracking, helping you better understand the profitability of your projects if you are using job costing (like construction or manufacturing).
6. Easy Adjustments and Updates
QuickBooks makes it simple to update Workers’ Comp settings as rates or employee roles change. Class codes, premium rates, and employee assignments can be modified without disrupting payroll operations.
7. Supports Pay-As-You-Go Billing
A number of insurance providers offer “pay-as-you-go” plans that integrate with QuickBooks Payroll. Premiums are paid in real time with each payroll cycle, improving cash flow and eliminating large lump-sum payments.
8. Reduces Human Error
Automating Workers’ Comp tracking in QuickBooks minimizes the risk of errors caused by manual entry or spreadsheets. Both your business and your employees are protected by this accuracy.
With tracking and reporting features designed to simplify your business’s operations, the setup ensures both protection and preparedness. Taking the time to configure this correctly now will save you time, money, and hassle in the long run.
Steps to Set up and Edit Workers’ Compensation in QuickBooks
While names and rates may vary slightly depending on the province, the process for setting up QuickBooks Desktop Payroll remains consistent. Follow the steps below to set up or edit a workers’ compensation payroll item in your QuickBooks Desktop company file.
Important Things to Keep in Mind
In Canada, every province and territory operates its own individual Workers’ Compensation Board or Commission (WCB), with the exception of the Northwest Territories and Nunavut, which share a combined WCB. For detailed, region-specific requirements, it’s best to consult your provincial government or visit the Association of Workers’ Compensation Boards of Canada (AWCBC), which serves as a national source for workers’ compensation information.
Apart from all this, there are a set of crucial things that a user needs to keep in his or her mind when setting up or managing workers’ compensation in QuickBooks. Here’s a quick glance into the key factors:
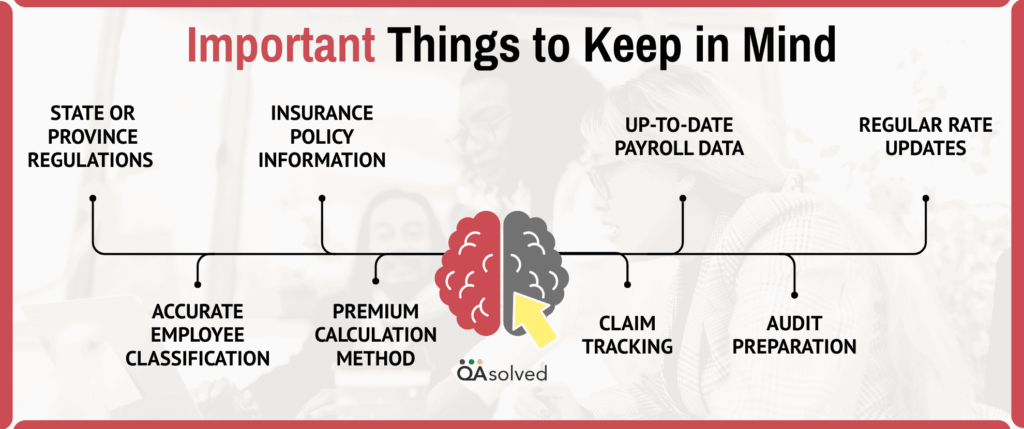
- State or Province Regulations – Rules, coverage requirements, and premium rates vary by location, so ensure you have the correct details before setup.
- Accurate Employee Classification – Assign the right job codes to avoid overpaying or underpaying premiums.
- Up-to-Date Payroll Data – Keep wage, hours, and role details current for accurate premium calculations.
- Insurance Policy Information – Have your workers’ compensation provider’s policy number, rate, and coverage details handy.
- Premium Calculation Method – Understand how premiums are calculated (per payroll period or annually).
- Claim Tracking – Use QuickBooks to log and monitor claims for better recordkeeping.
- Audit Preparation – Maintain complete and organized records to simplify insurance audits.
- Regular Rate Updates – Adjust rates promptly if your insurer changes them.
1. Create and Set Up A Workers’ Compensation Payroll Item
As we said, creating and setting up a Workers’ Compensation payroll item in QuickBooks allows you to accurately calculate and track insurance premiums directly through your payroll system. Here are the steps that can help you creating and setting up the same for enhanced workflow:
- Go to Lists, then choose Payroll Item List.
- Choose New from the Dropdown List of Payroll Items.
- Next, choose a Payroll Item Type, select Other Tax, then click Next.
- On the Other Tax screen, choose Tax is paid by the company, then continue by selecting Next.
- In the screen labeled Name used in pay cheques and payroll reports, enter a name for this Workers’ Compensation item, then click Next.
- Select the correct supplier under Agency for company-paid liability, in the section titled Enter the name of the agency to which liability is paid.
- If the supplier doesn’t exist yet, you can create it by selecting Add New from the dropdown.
- On the next screen, either keep the default accounts or select your own chart of accounts specifically created for tracking Workers’ Compensation, then choose Next.
- When you reach the Tax tracking type screen, leave the selection set to None, and proceed by clicking Next.
- On the Default rate and limit screen, enter your Workers’ Comp rate.
- Be sure to include the percentage sign (e.g., 2.90%)—omitting it will cause QuickBooks to read the amount as a dollar value instead.
- If you are uncertain of the rate, consult your provincial guidelines or contact the AWCBC (Association of Workers’ Compensation Boards of Canada).
- Lastly, ensure that all relevant payroll items are checked on the Taxable Compensation screen so that Workers’ Compensation is calculated correctly. To complete the setup, click Finish.
2. Assign New Workers’ Compensation Payroll Item to Existing Employees
Follow the steps given below in order to successfully assign the new workers’ compensation payroll item to the existing employees.
- Open QuickBooks Desktop.
- Go to Employees and open the Employee Centre.
- Choose the employee you want to update and double-click on their name.
- Navigate to the Payroll Info tab, then click on Taxes and TD1.
- Locate the first row under the Item Name column on the Taxes screen. Choose the Workers’ Compensation item from the dropdown menu.
- Click OK, then click OK again to exit the employee profile.
This process needs to be repeated for each employee who needs to be assigned the Workers’ Compensation item.
3. Set Workers’ Compensation as a Default Payroll Item for New and Future Employees
- Open QuickBooks Desktop.
- Go to Edit, then click on Preferences.
- Under Payroll & Employees, open the Company Preferences tab.
- Access the Employee Defaults section and select Taxes.
- Select the workers’ compensation item you previously created from the drop-down menu under the Item Name column in the Taxes window.
- Click OK, then OK again to exit the preferences.
Note: Workers’ compensation will now be automatically included for any new employees you add.
Pay the Workers’ Compensation Payroll Liability
Once your employees have been paid, you can process the workers’ compensation payment just like any other payroll liability. With QuickBooks Payroll workers comp integration, businesses can automatically calculate and track workers’ compensation premiums alongside payroll processing.
So, these are all the important aspects that you need to follow in order to successfully create, set up, and edit workers’ compensation in QuickBooks.
Summary
Setting up and managing Workers’ Compensation in QuickBooks is more than just a compliance task; it is an investment in protecting your business and ensuring the safety of your employees. By properly configuring your Workers’ Comp payroll items, keeping employee classifications accurate, and staying up to date with provincial or state requirements, you can streamline payroll, minimize errors, and maintain audit-ready records. QuickBooks’ integration of workers’ compensation into its payroll system not only simplifies calculations but also makes tracking, reporting, and adjusting rates effortless.
Whether you are a small business owner or managing a large team, following these steps will help you build a reliable, efficient, and compliant payroll process. With the right setup in place, you can focus more on growing your business while having peace of mind that your employees are covered and your obligations are met.
Frequently Asked Questions
QuickBooks categorizes workers’ compensation expenses under Insurance Expenses or more specifically Payroll Expenses > Workers’ Compensation. Tracking it accurately as employee-related costs is made possible by this classification. Worker’s compensation can be included under the Payroll Expenses section if your chart of accounts does not already include one.
1. Go to Lists > Payroll Item List.
2. Access the Payroll Item.
3. Next click on New > Custom Setup > Next.
4. Choose Deduction (employee-paid) or Company Contribution (employer-paid).
5. Name the benefit, choose a vendor, and select tracking accounts.
6. Set tax options and an optional rate or limit.
7. Click Finish.
Assign to Employees:
1. Go to Employees > Employee Centre.
2. Create an employee profile.
3. Add the benefit item to Payroll Info.
4. Enter the amount or rate.
5. Enter OK.
Yes, workers’ comp insurance is usually tax deductible. It can be considered a regular business expense since it protects your employees. Make sure the insurance covers your employees, not owners or partners. Make sure you keep track of all payments, and consult a tax professional if you’re not sure what to do.
In accounting, workers’ compensation insurance premiums are generally recorded as insurance expenses. These expenses fall under a company’s operating costs, which represent the regular expenses required to keep the business running on a day-to-day basis.
Employee compensation goes beyond just hourly wages and salaries. It can also include bonuses, paid sick leave, vacation time, paid time off, and various insurance benefits, offering a more comprehensive package of remuneration for employees.
