

Managing financial data accurately is essential for any business, and QuickBooks Desktop makes it easier by allowing users to import bank transactions using web connect files (.QBO). However, users often encounter obstacles while importing these files, commonly known as web connect import issues in QuickBooks. These errors can disrupt your workflow and cause delays in reconciling bank transactions, making it vital to understand their causes and resolutions. QuickBooks Desktop import errors typically occur due to incompatible file formats, outdated banking information, incorrect account mapping, or damaged company files.
In this blog, we will guide you through identifying and fixing web connect import issues in QuickBooks Desktop. But before diving straight into the fixes, let’s take a look at six messages that users might encounter while downloading transactions from their bank. These messages indicate a possible issue with the web connect import in QuickBooks. Here are those messages:
- “QuickBooks found an error. We can’t read the file [Your financial institution] sent.”
- “An error occurred while processing your online banking data.”
- “Your data was not imported into QuickBooks.”
- “QuickBooks is unable to verify the Financial Institution information for this download.”
- “QuickBooks seems stuck and asks you to select a new or existing account when you try to download.”
- “To download and import transactions, sign in with your Intuit account.”
By addressing the early signs and possible causes, it becomes easier for a user to understand the problem and take the right approach to fix such minor issues by themselves. So, let’s begin with it!
4 Steps to Fix QuickBooks Desktop Web Connect Import Issues
If you’re experiencing trouble importing bank transactions into QuickBooks Desktop using a .QBO file, you’re not alone. Many users encounter web connect import errors that prevent transactions from being downloaded or matched correctly. Fortunately, there are reliable ways to resolve these issues and restore smooth data integration.
In this section, we’ll walk you through 4 proven steps to fix QuickBooks Desktop web connect import issues. Before you start, make sure that:
- Back up your QuickBooks company file to prevent data loss during the process.
- Verify that you’re working with a currently supported version of QuickBooks Desktop.
- If you’re using Advanced Mode in Bank Feeds, ensure you’re signed in to your Intuit Account. Web connect file imports (.QBO) in this mode require authentication within QuickBooks Desktop.
By following these best practices, you can eliminate common import errors and keep your financial records accurate and up to date. Here are the steps to get rid of QuickBooks Desktop web connect import issues:
Step 1: Download the Web Connect File
To avoid import errors, always download the web connect file directly from your bank’s website rather than through QuickBooks. Ensure the downloaded file is in the .QBO format, as this is the only type supported by web connect.
- Log in to your online banking account.
- Locate and download the Web Connect (.QBO) file from your bank.
- Open QuickBooks Desktop, access your company file, and import the .QBO file.
Tip: If you get an error while downloading the file, contact your bank as the issue might be on their end.
Step 2: Check and Review Notifications from Your Bank
For this step, your bank might require identity verification or may have updated its connection method. Log in to your online banking, review any alerts or messages, and follow the provided instructions. If web connect is no longer supported, make sure to disconnect the affected account in QuickBooks.
Step 3: Switch Bank Feed Modes
Here are the steps to switch bank feed modes and resolve QuickBooks web connect import issues:
- Navigate to the Banking menu and go to Bank Feeds, then choose Change Bank Feeds Mode.
- Switch the bank feed settings to Classic (Register) Mode.
- After changing the mode, proceed to import your .QBO file into QuickBooks.
Step 4: Create a Test File
Follow the given below points to finally execute the final step:
- Go to the File menu and choose New Company.
- Click on Express Start or Start Setup, fill in the required details, and include the word “Test” in the company name for easy identification.
- Select Start Working to create the test company.
- Within this test company file, import the .QBO file and download the transactions into the same bank account that’s causing issues in your main company file.
A. If You Are Able to Import the File and See Your Transactions
If the file imports successfully and your transactions appear in the test company, it’s likely a settings issue in your original company file. Return to your main file and reset the bank feed settings accordingly. Follow the steps for the same:
- Access your original QuickBooks company file.
- Remove the bank account that’s experiencing import issues.
- Re-establish the connection to that bank account.
- After reconnecting, try importing the .QBO file once more.
B. If You Couldn’t Import the File or Don’t See Your Transactions
If you’re unable to import the .QBO file or your transactions don’t appear in QuickBooks, the issue may stem from the file provided by your bank. It’s best to contact your bank directly, as institutions that support web connect are familiar with these problems and can help troubleshoot or reissue a corrected file.
- Before reaching out to your bank, retrieve your Bank Log files, these can help their support team identify the problem more efficiently.
- When you contact your bank, ask to speak with a representative who is knowledgeable about QuickBooks Bank Feeds and account setup processes.
- Request the bank representative to verify that your QuickBooks account(s) are properly configured for Web Connect compatibility.
- If necessary, ask the bank representative to submit a case through the Open Financial Exchange (OFX) system. Be sure to record your case number for future reference.
So, these are the 4 steps to successfully fix web connect import issues in QuickBooks Desktop.
Early Indications to Detect Web Connect Import Issues in QB Desktop
Recognizing the signs of web connect import issues early can help prevent delays and ensure accurate financial tracking in QuickBooks Desktop. Here are some common indicators that suggest a problem with the web connect process:
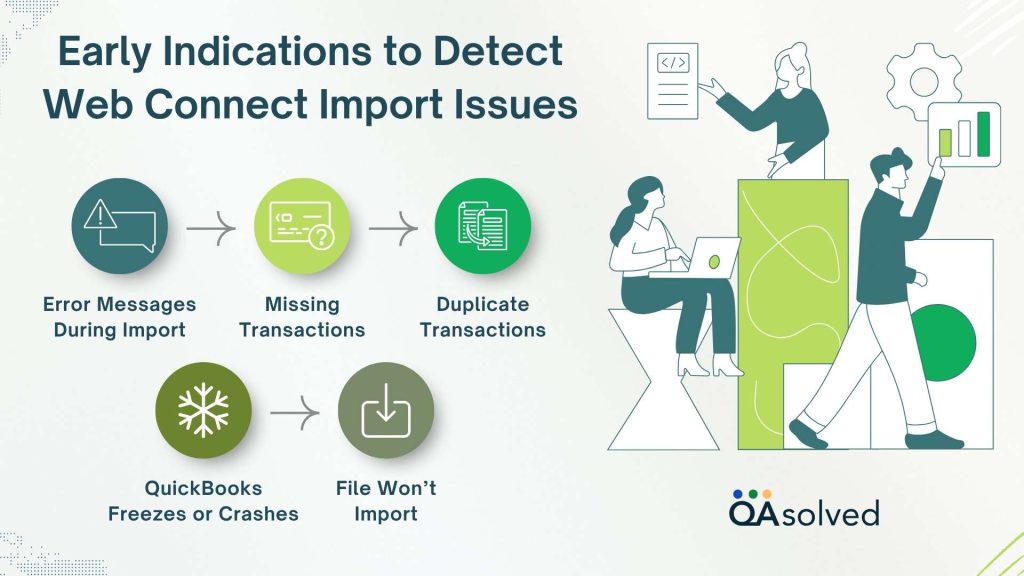
1. Error Messages During Import: You may see errors like “QuickBooks is unable to verify the financial institution” or “No new transactions available.”
2. Missing Transactions: After importing a .QBO file, no new transactions appear, even though your bank shows activity.
3. QuickBooks Freezes or Crashes: QuickBooks becomes unresponsive during or immediately after importing the .QBO file.
4. Duplicate Transactions: Previously imported transactions reappear, causing reconciliation issues.
5. File Won’t Import: The import process doesn’t start, or QuickBooks fails to recognize the .QBO file.
Being aware of these red flags can prompt faster troubleshooting and prevent data inconsistencies.
Causes That Trigger Web Connect Import Issues in QuickBooks Desktop
Web connect import errors in QuickBooks Desktop can be caused by a variety of technical or configuration-related problems. Understanding these triggers helps address the root of the issue effectively:
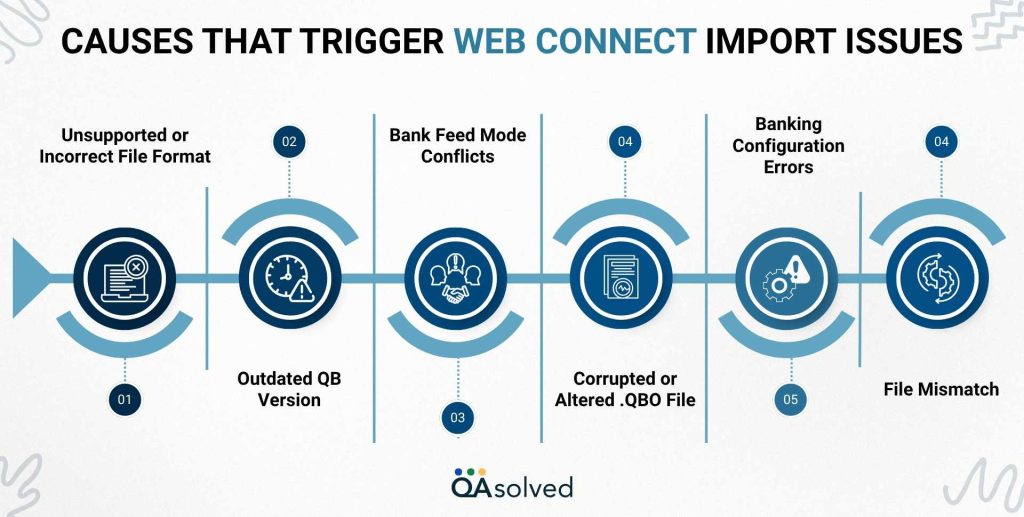
1. Unsupported or Incorrect File Format: Only .QBO files are supported. Other formats like .CSV or .OFX are not compatible.
2. Outdated QuickBooks Version: Running an older version of QuickBooks can cause compatibility issues with current banking formats.
3. Bank Feed Mode Conflicts: Using the wrong bank feed mode (Classic vs. Advanced) may block imports.
4. Corrupted or Altered .QBO File: Opening the file in Excel or Notepad before importing can damage its structure.
5. Banking Configuration Errors: The account may not be properly set up for web connect on the bank’s side.
6. File Mismatch: Importing transactions into the wrong or unmatched bank account within QuickBooks.
By identifying the cause, you can apply the appropriate fix and restore smooth bank data imports in QuickBooks Desktop.
Conclusion
Web connect import issues in QuickBooks Desktop can be frustrating, especially when you’re trying to maintain accurate financial records and streamline your bookkeeping. However, with a clear understanding of the early warning signs and root causes, along with step-by-step troubleshooting, most of these errors can be resolved efficiently. Whether it’s switching the bank’s feed mode, creating a test company file, or contacting your bank for further support, the solutions covered in this guide will help you restore seamless import functionality.
Remember to always use the correct .QBO file, keep QuickBooks updated, and ensure your bank account is properly configured for web connect.
Frequently Asked Questions
Yes, you can import a web connect file into QuickBooks with the help of below given steps:
1. Open QuickBooks and go to the top menu bar.
2. Click on File → Utilities → Import → Web Connect Files.
3. Locate and select the Web Connect (.QBO) file you downloaded from your bank.
4. When prompted, choose the existing bank account in QuickBooks where you want the transactions to be imported.
5. Click Continue to start the import.
6. Once the import is complete, you’ll see a confirmation message and you can review the transactions in your Banking or Bank Feeds center.
QuickBooks Online supports importing data using CSV (Comma-Separated Values) files, Google Sheets, and Excel files in .XLS or .XLSX format. These formats can be used to upload transactions, customer lists, vendor details, and more.
If you’re facing issues, try the following steps:
1. Update QuickBooks – Make sure you’re using the latest version. If not, then update to the latest release.
2. Check Internet Connection – Make sure your internet is stable and don’t forget to clear your browser’s cache and cookies.
3. Download the File Again – Re-download the correct (.qbo) file from your bank.
4. Verify Login Details – Double-check your QuickBooks login credentials.
5. Rebuild Data – Use the “Rebuild Data” tool in QuickBooks to fix any file issues.
Yes, support is available for web connect import issues in QuickBooks Desktop for Mac 2020, 2021, and 2022. Common issues include file compatibility, outdated software, or import errors. To know more, click here.
Direct Connect and Web Connect are two methods used to bring bank transactions into QuickBooks, but they work differently. Direct Connect allows QuickBooks to automatically connect to your bank and download transactions in real time, often requiring login credentials and sometimes involving a bank fee. In contrast, Web Connect is a manual process where you download a .QBO file from your bank’s website and then import it into QuickBooks. While web connect is typically free and widely supported, it doesn’t offer real-time syncing like Direct Connect.
