

Vendors play a huge role in keeping your business up and running, whether it’s the suppliers delivering raw materials, the contractors supporting day-to-day operations, or service providers helping with key business functions. And while managing vendor relationships is one thing, keeping their transactions tidy and accurate in your accounting software is an entirely different challenge. That’s where QuickBooks Online steps in to make your life easier.
QuickBooks Online offers a seamless way to track all your vendor activity in one centralized location. From bills and expenses to payments and vendor credits, everything is neatly organized under the Vendor Center. But what happens if you find a mistake? Maybe a transaction got miscategorized, or you accidentally entered the wrong date. Don’t worry, QuickBooks Online has your back. With just a few clicks, you can easily edit vendor transactions without starting from scratch.
In the end, it’s all about keeping your records clean, accurate, and ready for whatever comes next, be it a financial report, tax season, or a major business decision. In this blog, we’ll walk you through exactly how to locate, review, and edit vendor transactions in QuickBooks Online so you can stay on top of your books and focus on what matters most: growing your business. So, let’s get to the business!
Why Reviewing Vendor Transactions Matters?
Keeping track of your vendor transactions is not just good practice, it’s essential for managing your cash flow. Staying on top of your business finances, catching errors early, and making informed decisions are possible when you regularly review your vendor payments and expenses.
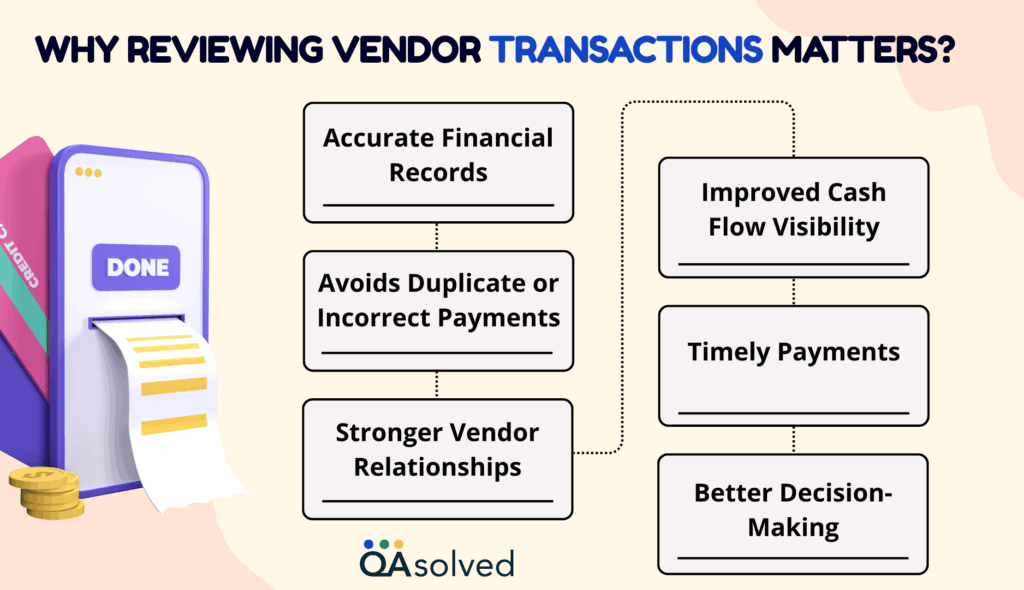
- Accurate Financial Records: Maintains accurate records of vendor payments and expenses, preventing overpayments and missed invoices.
- Improved Cash Flow Visibility: Allows you to plan ahead for upcoming expenses by understanding exactly how much cash is going out.
- Avoids Duplicate or Incorrect Payments: Checking regularly can prevent errors that could have a negative impact on your budget.
- Timely Payments: Helps you avoid late fees and maintain good credit by keeping you informed of upcoming or overdue bills.
- Stronger Vendor Relationships: Establishes trust between the vendor and the client, which leads to more favorable terms or discounts.
- Better Decision-Making: You can make better purchasing and business decisions when you have a clear understanding of your expenses.
How to View and Manage Vendor Transactions in QuickBooks Online?
Here are the steps to view transactions, manage your vendors information, and check the vendors money bar:
Steps to View Vendors Transactions
Access the Vendors tab to see all transactions related to a specific vendor. Follow the steps:
- Click Expenses, then Vendors.
- Decide which vendor is best for you.
- In the Transaction List, you should see all transactions associated with this vendor.
- Choose the vendor you prefer.
- This vendor’s transactions should appear under the Transaction List.
Steps to Manage Your Vendor Information
Selecting a vendor allows you to view and edit their profile and manage all related transactions.
- Click Edit to make changes to the vendor’s profile.
- If you want to create a new bill, expense, check, purchase order, or credit for the vendor, select New transaction.
- Use the dropdown filter to show only certain transaction types.
- To print vendor transactions, select the Printer icon.
- Select the specific transactions, then select the Batch actions dropdown to:
- Online payment of selected bills
- Categorize the chosen transactions
- Void transactions
- Print the transactions
- Click the Export icon to download the vendor transactions as an Excel file.
How the Vendor Money Bar Helps You Stay Organized?
The Vendors money bar is the colored bar at the top of the Vendors page. This tool provides you with a quick visual summary of your interactions with each vendor, including:
- Open purchase orders
- Outstanding and overdue bills
- Bills paid within the last 30 days
After following these steps, you’ll have better control over vendor data-whether you’re updating, checking details, or correcting past entries. By following the right steps, you can easily manage vendor transactions in QuickBooks Online and keep your records accurate and up-to-date.
7 Common Edits You Can Make to Vendor Transactions
It’s common to spot small errors as you manage your books or to need to update vendor transactions. To maintain clean and accurate records, QuickBooks Online lets you make these changes easily.
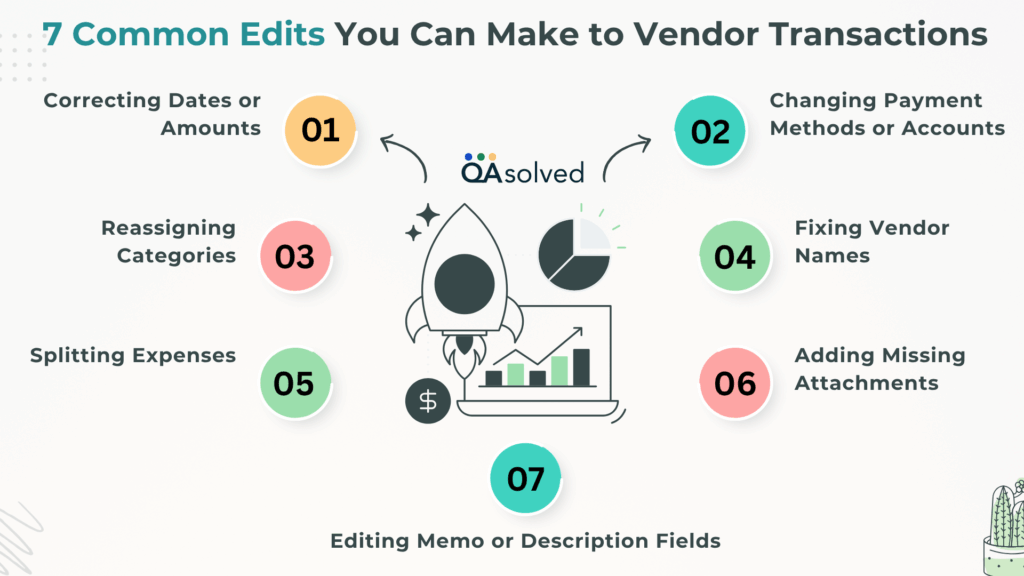
- Correcting Dates or Amounts: Update the transaction date or amount to reflect the actual details and ensure accurate reporting.
- Changing Payment Methods or Accounts: Switch the payment account used for a transaction, like from a credit card to a bank account, for better tracking.
- Reassigning Categories: Assign expenses to the correct account (e.g., from “Miscellaneous” to “Office Supplies”) to improve report clarity.
- Fixing Vendor Names: Standardize or correct vendor names to avoid duplicates and keep reports consistent.
- Splitting Expenses: Distribute a single transaction across multiple categories if it covers more than one type of expense.
- Adding Missing Attachments: Attach receipts, invoices, or supporting documents to complete the transaction record.
- Editing Memo or Description Fields: Add or revise notes to clarify the purpose of a transaction, making it easier to understand later.
By making these simple edits, you ensure that your vendor data is reliable and your reports reflect the true state of your finances, facilitating easy and informed business decisions.
Also Read: How to Enter Vendor Credits and Refunds in QuickBooks Online?
5 Tips to Avoid Mistakes When Editing Vendor Transactions
Correcting errors or updating records in QuickBooks Online may require editing vendor transactions. Making changes without proper caution can lead to confusion or even disrupt your bookkeeping. Here are some best practices you can follow to avoid this:
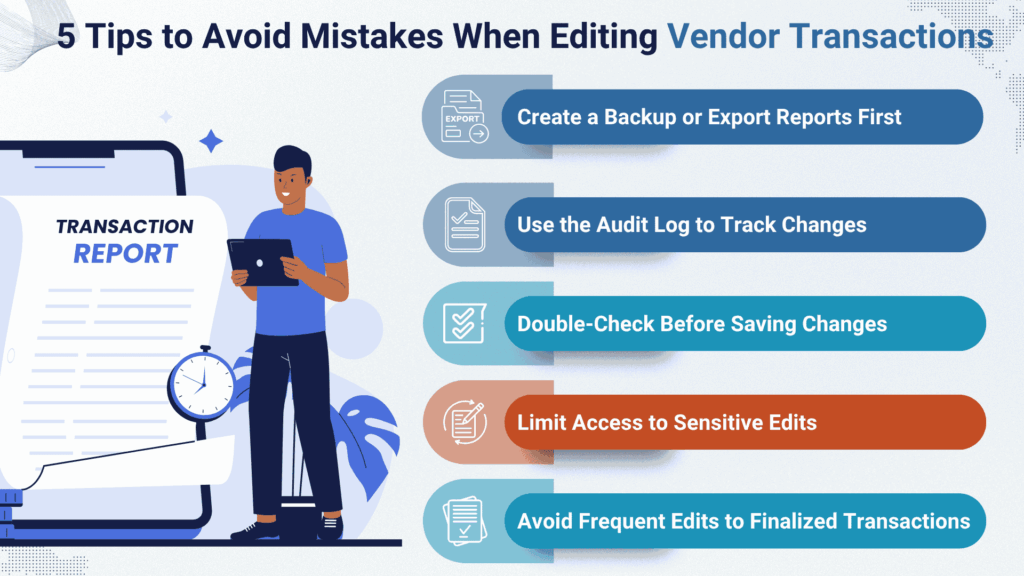
1. Create a Backup or Export Reports First
Exporting or taking a backup copy of your data is a good idea before making any major edits. In case you need to restore or compare the original information in the future, this provides a safety net.
2. Use the Audit Log to Track Changes
The “Audit Log” feature in QuickBooks Online tracks every edit made to transactions, including who made the change and when. Regularly reviewing this log can help you identify errors, ensure accountability, and easily reverse any unwanted changes.
3. Double-Check Before Saving Changes
A simple typo can throw off your entire report or lead to incorrect payments. Always check the details carefully before clicking “Save.”
4. Limit Access to Sensitive Edits
Only authorized users should be able to make changes to vendor records if you work in a team. Maintaining consistency in your financial data reduces the risk of accidental edits.
5. Avoid Frequent Edits to Finalized Transactions
Don’t edit transactions that have already been reconciled or part of reports unless absolutely necessary. Keep a record of why changes were made if they are required.
It is easy to avoid errors, stay organized, and maintain clean and accurate vendor records by following these simple yet effective tips.
Summary
To summarize, the ability to view and edit vendor transactions in QuickBooks Online is more than just fixing errors; it allows you to gain control over your vendor relationships and financial health. With QuickBooks Online, you can easily track, manage, and update all your vendor transactions. These tasks ensure that your records remain clean, accurate, and audit-ready by reviewing overdue bills, checking payment histories, and correcting transaction errors.
Furthermore, this level of organization is especially helpful during tax season, budget planning, and financial audits.Whether you’re a small business owner, a bookkeeper, or an accountant, QuickBooks Online makes it easier to manage vendor transactions, build trustworthy vendor relationships, and stay on top of your finances.
With fewer errors, better reports, and peace of mind, investing a little time in mastering this process pays off in the end.
Frequently Asked Questions
Go to the Expenses menu and select the Vendors tab. Find and click on the vendor’s name to open their profile. You’ll see a complete list of all transactions associated with that vendor, including bills, payments, credits, and purchase orders.
To get a clear overview of your vendor spending, you can generate a summary report in just a few steps. Here’s how to do it:
1. Open the Find report by name dropdown and choose Expenses by Vendor Summary.
2. Choose the appropriate Report period to set your desired date range.
3. Use the Display columns by dropdown and select Vendors to organize the data accordingly.
4. In the Accounting method section, pick either Cash or Accrual, depending on how you manage your books.
5. Click on Run report to generate the data.
6. To save this customized view for future use, select Save customization.
This report helps you monitor how much you’re spending with each vendor and can be especially useful for budgeting and forecasting.
You can use the Audit Log feature in QuickBooks Online to track all changes made to vendor transactions. It shows who made the change, what was changed, and when. This is especially helpful for reviewing edits, maintaining transparency, and undoing unwanted changes if needed.
Here are the steps to generate a Vendor Payment report in QuickBooks Online:
1. Go to the Reports section from the left-hand menu.
2. In the search bar or the report list, find and select Transaction List by Vendor.
3. Use the Report period dropdown to choose your desired date range.
4. Click on Customize to tailor the report to your needs.
5. Under the Filter section, select the specific Vendor you want to view.
6. Choose the columns you’d like to include, such as Category, Description, Amount, and Class.
7. Apply additional filters if needed, for example, by Account, Class, or Transaction Type.
8. Once you’re done, click Run report to view the results.
This customized report will give you a clear picture of payments made to a particular vendor over a specific time period.
Yes, QuickBooks Online allows you to edit most vendor transactions even after they’ve been saved. You can update details like dates, amounts, categories, payment methods, and even add missing attachments. However, it’s recommended to avoid editing transactions that have already been reconciled unless necessary, and always double-check your changes before saving.
